Finally had a chance to build up the first SITcore based board with the SCM20260D module. 4 layer and hand soldered as this is a home project to replace my existing G120 based controller for my oven. The G120 had a 5" LCD and this one will be 7" with the same 800x480 resolution. That SODIMM socket was fun to solder by hand but not impossible.
There are 2 solid state relay drivers for the FAN and the main heating elements. There will be 2 thermocouple sensors this time, one top and one bottom. The old system was fitted with a single sensor at the bottom of the oven.
I’ll post some images of the completed enclosure once I have the missing 5V dc-dc installed and the assembly tested. After this, I need to get back to TinyCLR and port the old NETMF code over to this beast.
10 Likes
Wow, an oven controller, for baking pcb-cakes? So that is how it’s done  Impressive!
What kind of oven? I’m already envisioning a toaster oven, but I’m thinking that’s not the case 
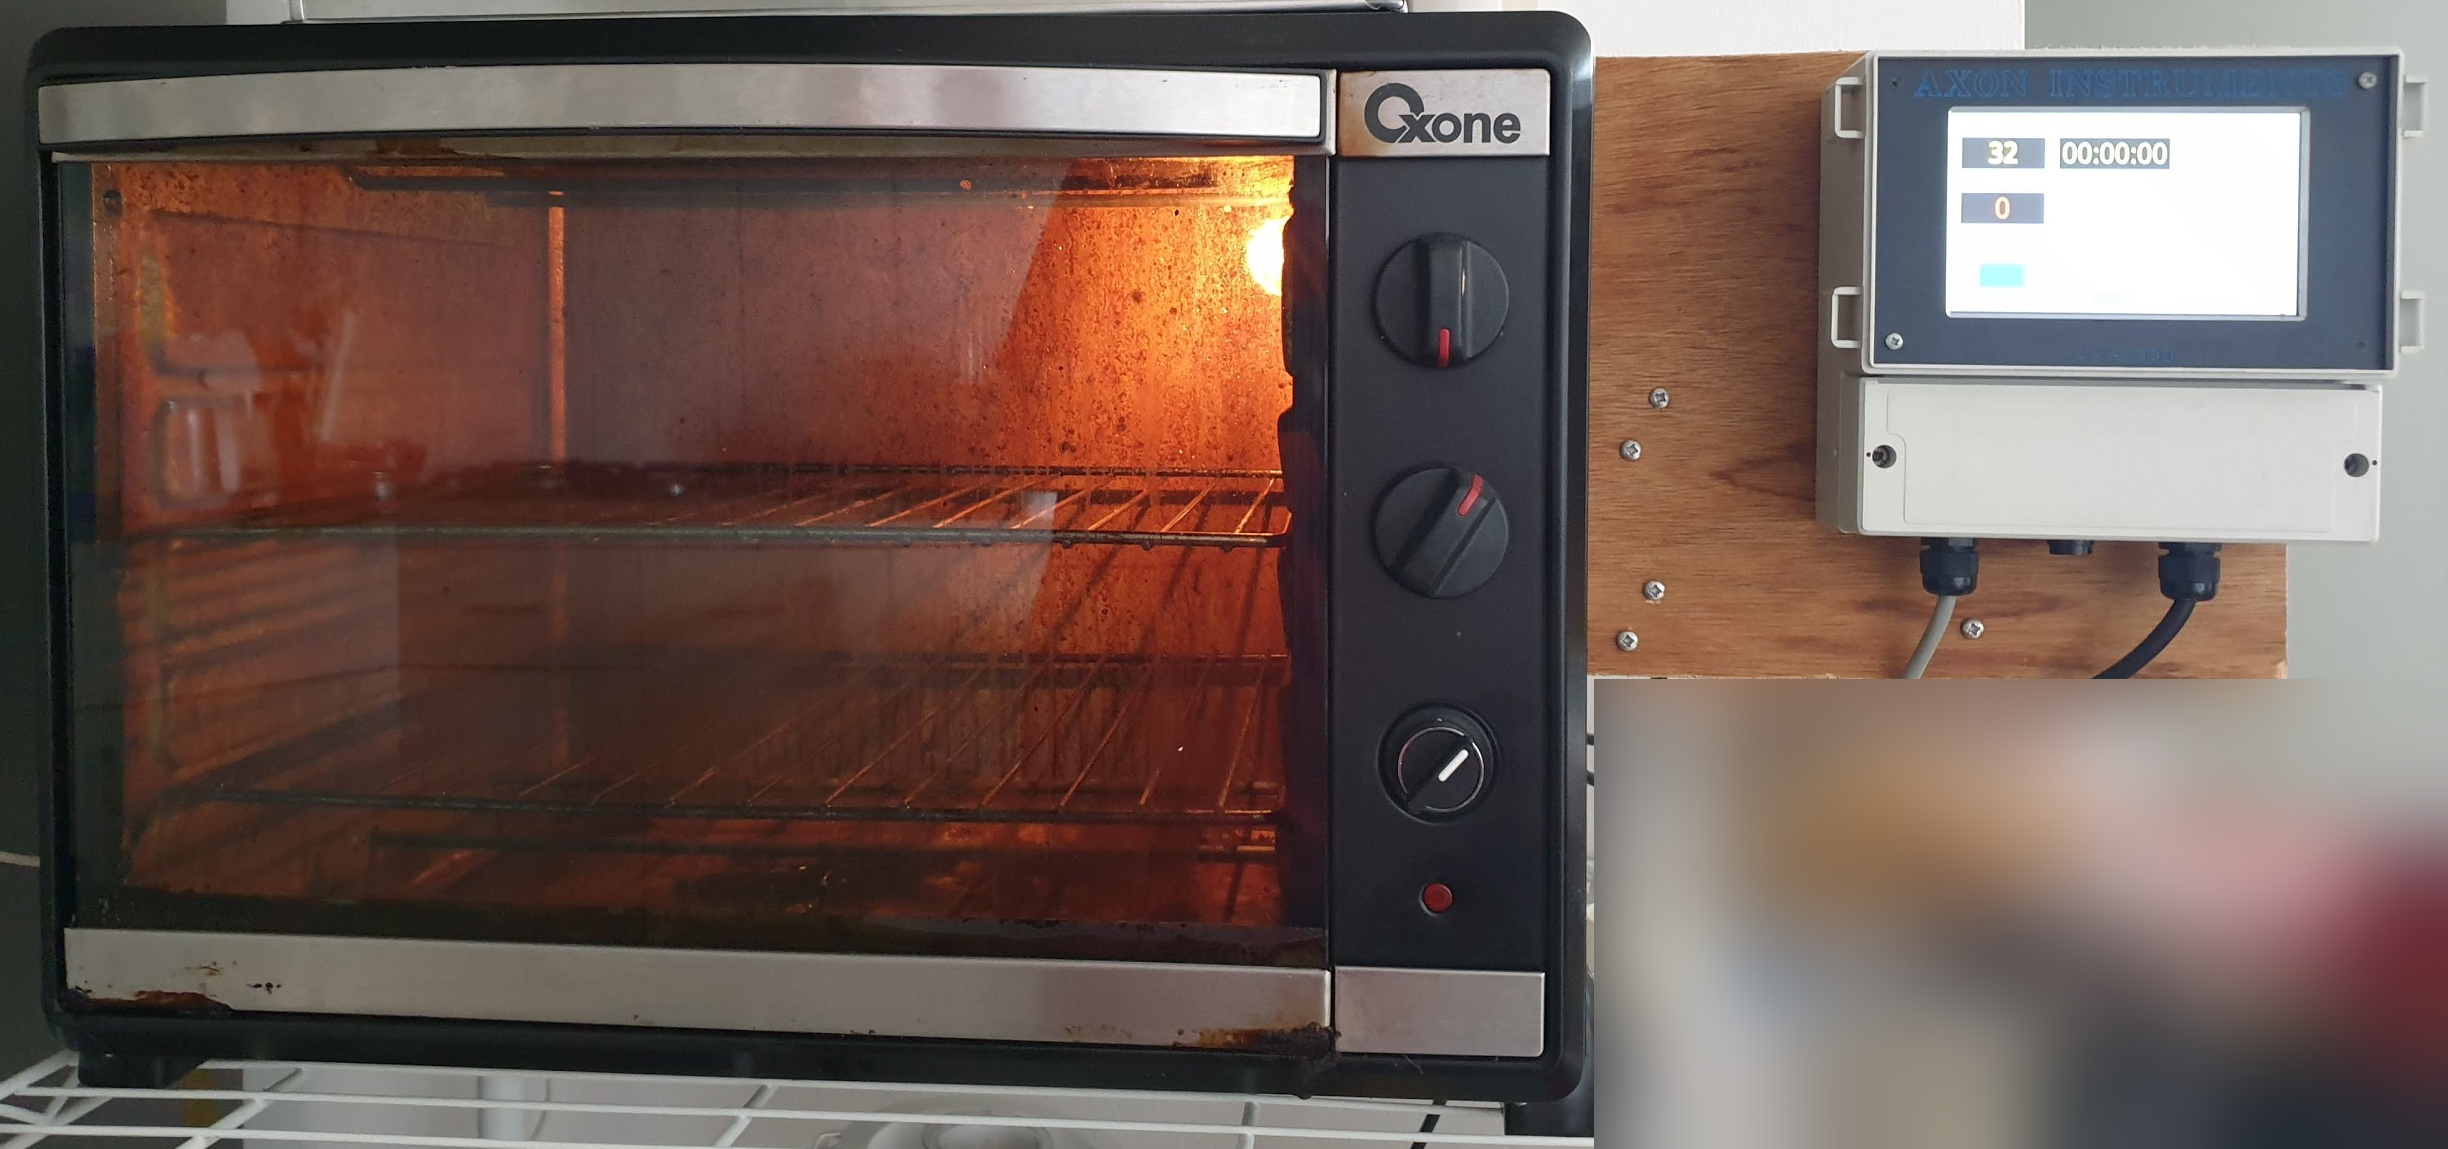
For cooking. A cheap and large electric over where the original thermostat was garbage and things got burnt all the time so I built a G120 with GUI to control it via a solid state relay. Now we get perfect results each time. The only issue we have had with it was a failure of the thermocouple and a burnt out solid state relay a few months ago which was not so bad considering it was about 6+ years old by that time.
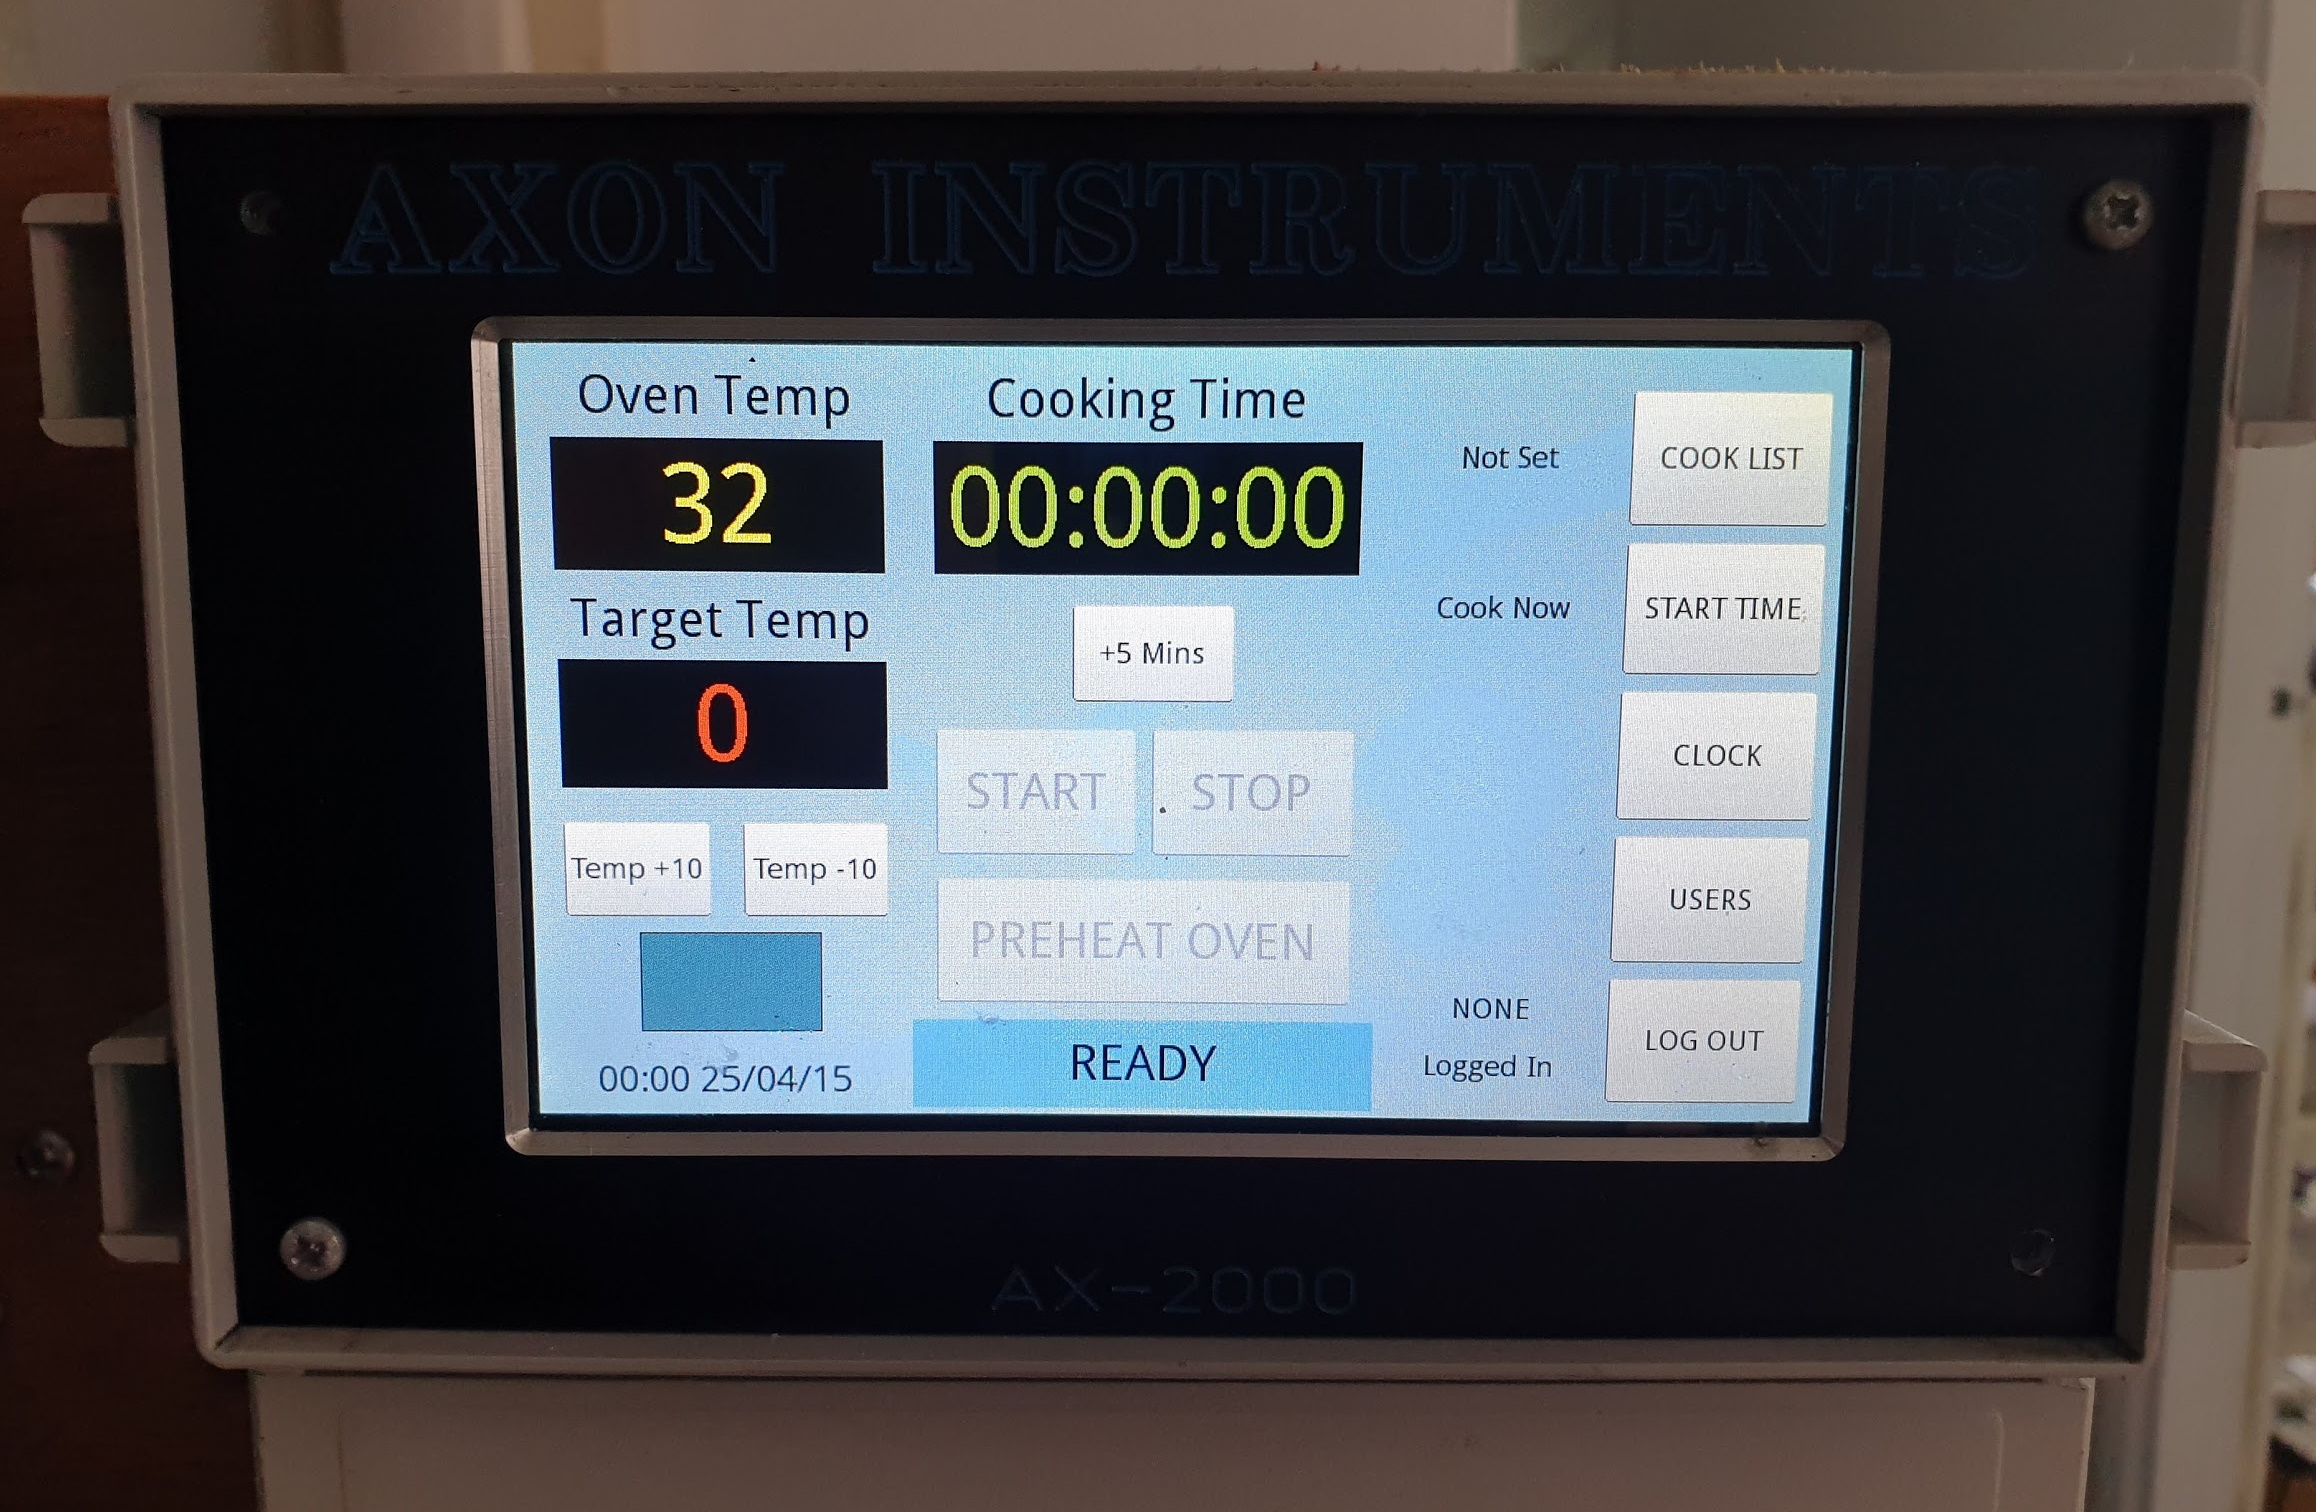
The controller I have posted before. The G120 works but the interface is a little slow on the 800x480 LCD but the new SITcore version should be way quicker and look good on the larger 7" display.
3 Likes
It is a toaster oven! Yea! Regarding solid state relays, how do you keep them from burning out and latching in the on state forever? I’ve read that when the el cheapo ones get hot, they disconnect from the heat sinks which results in runaway heating. When they fail they melt internally and keep the power on. This causes them to catch fire. Have you ever had to deal with that in a solution? If so, how?
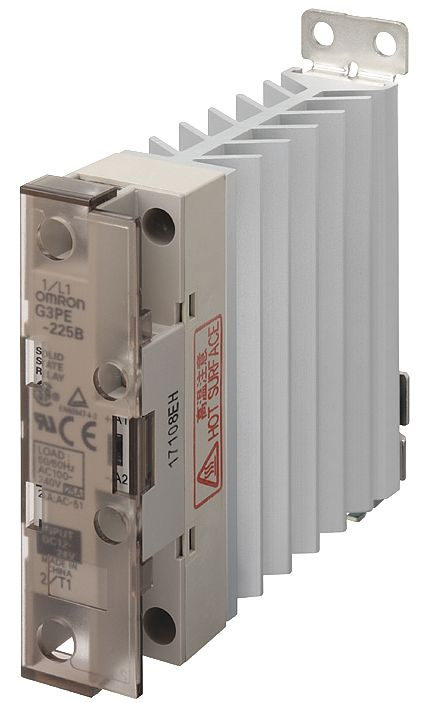
I have used quality ones from Omron. Cost more than the cheap Chinese ones but the one I used failed safe that time. I have an alarm that triggers if the heat rises more than 10°C above the set point which would indicate thermal runaway.
Do you have to mount that on to a heat sink?
Not on this oven. I am only drawing 6 amp with a 20A rated SSR and the heatsink of the SSR seems to be fine with this heat dissipation. It has lots of free air around it and the internal fan keeps the air moving around it. Monitoring with a thermal camera showed a max temp of 50°C when on during the pre-heat phase. When holding temp, it was max around 40-45°C.
1 Like
I’m trying to decide if to go to AC heated bed on my 3d printer design, since I can’t find any power supplies that could provide the watts, is reliable and not super expensive (like 800 bucks)
How much power do you need?
The trouble with AC is ensuring safety as the bed is metal so you need earth leakage safety. Offshore we used to have Ground Fault Monitoring on the 1100 and 3000Vac supplies that would shut them off if there was any leakage to earth.
A GFCI breaker on the line! Nice thought. I plan to use a flexible silicone heated bed on glass. Not sure how much power I’m going to be needing. People don’t like waiting for the bed’s to heat up.
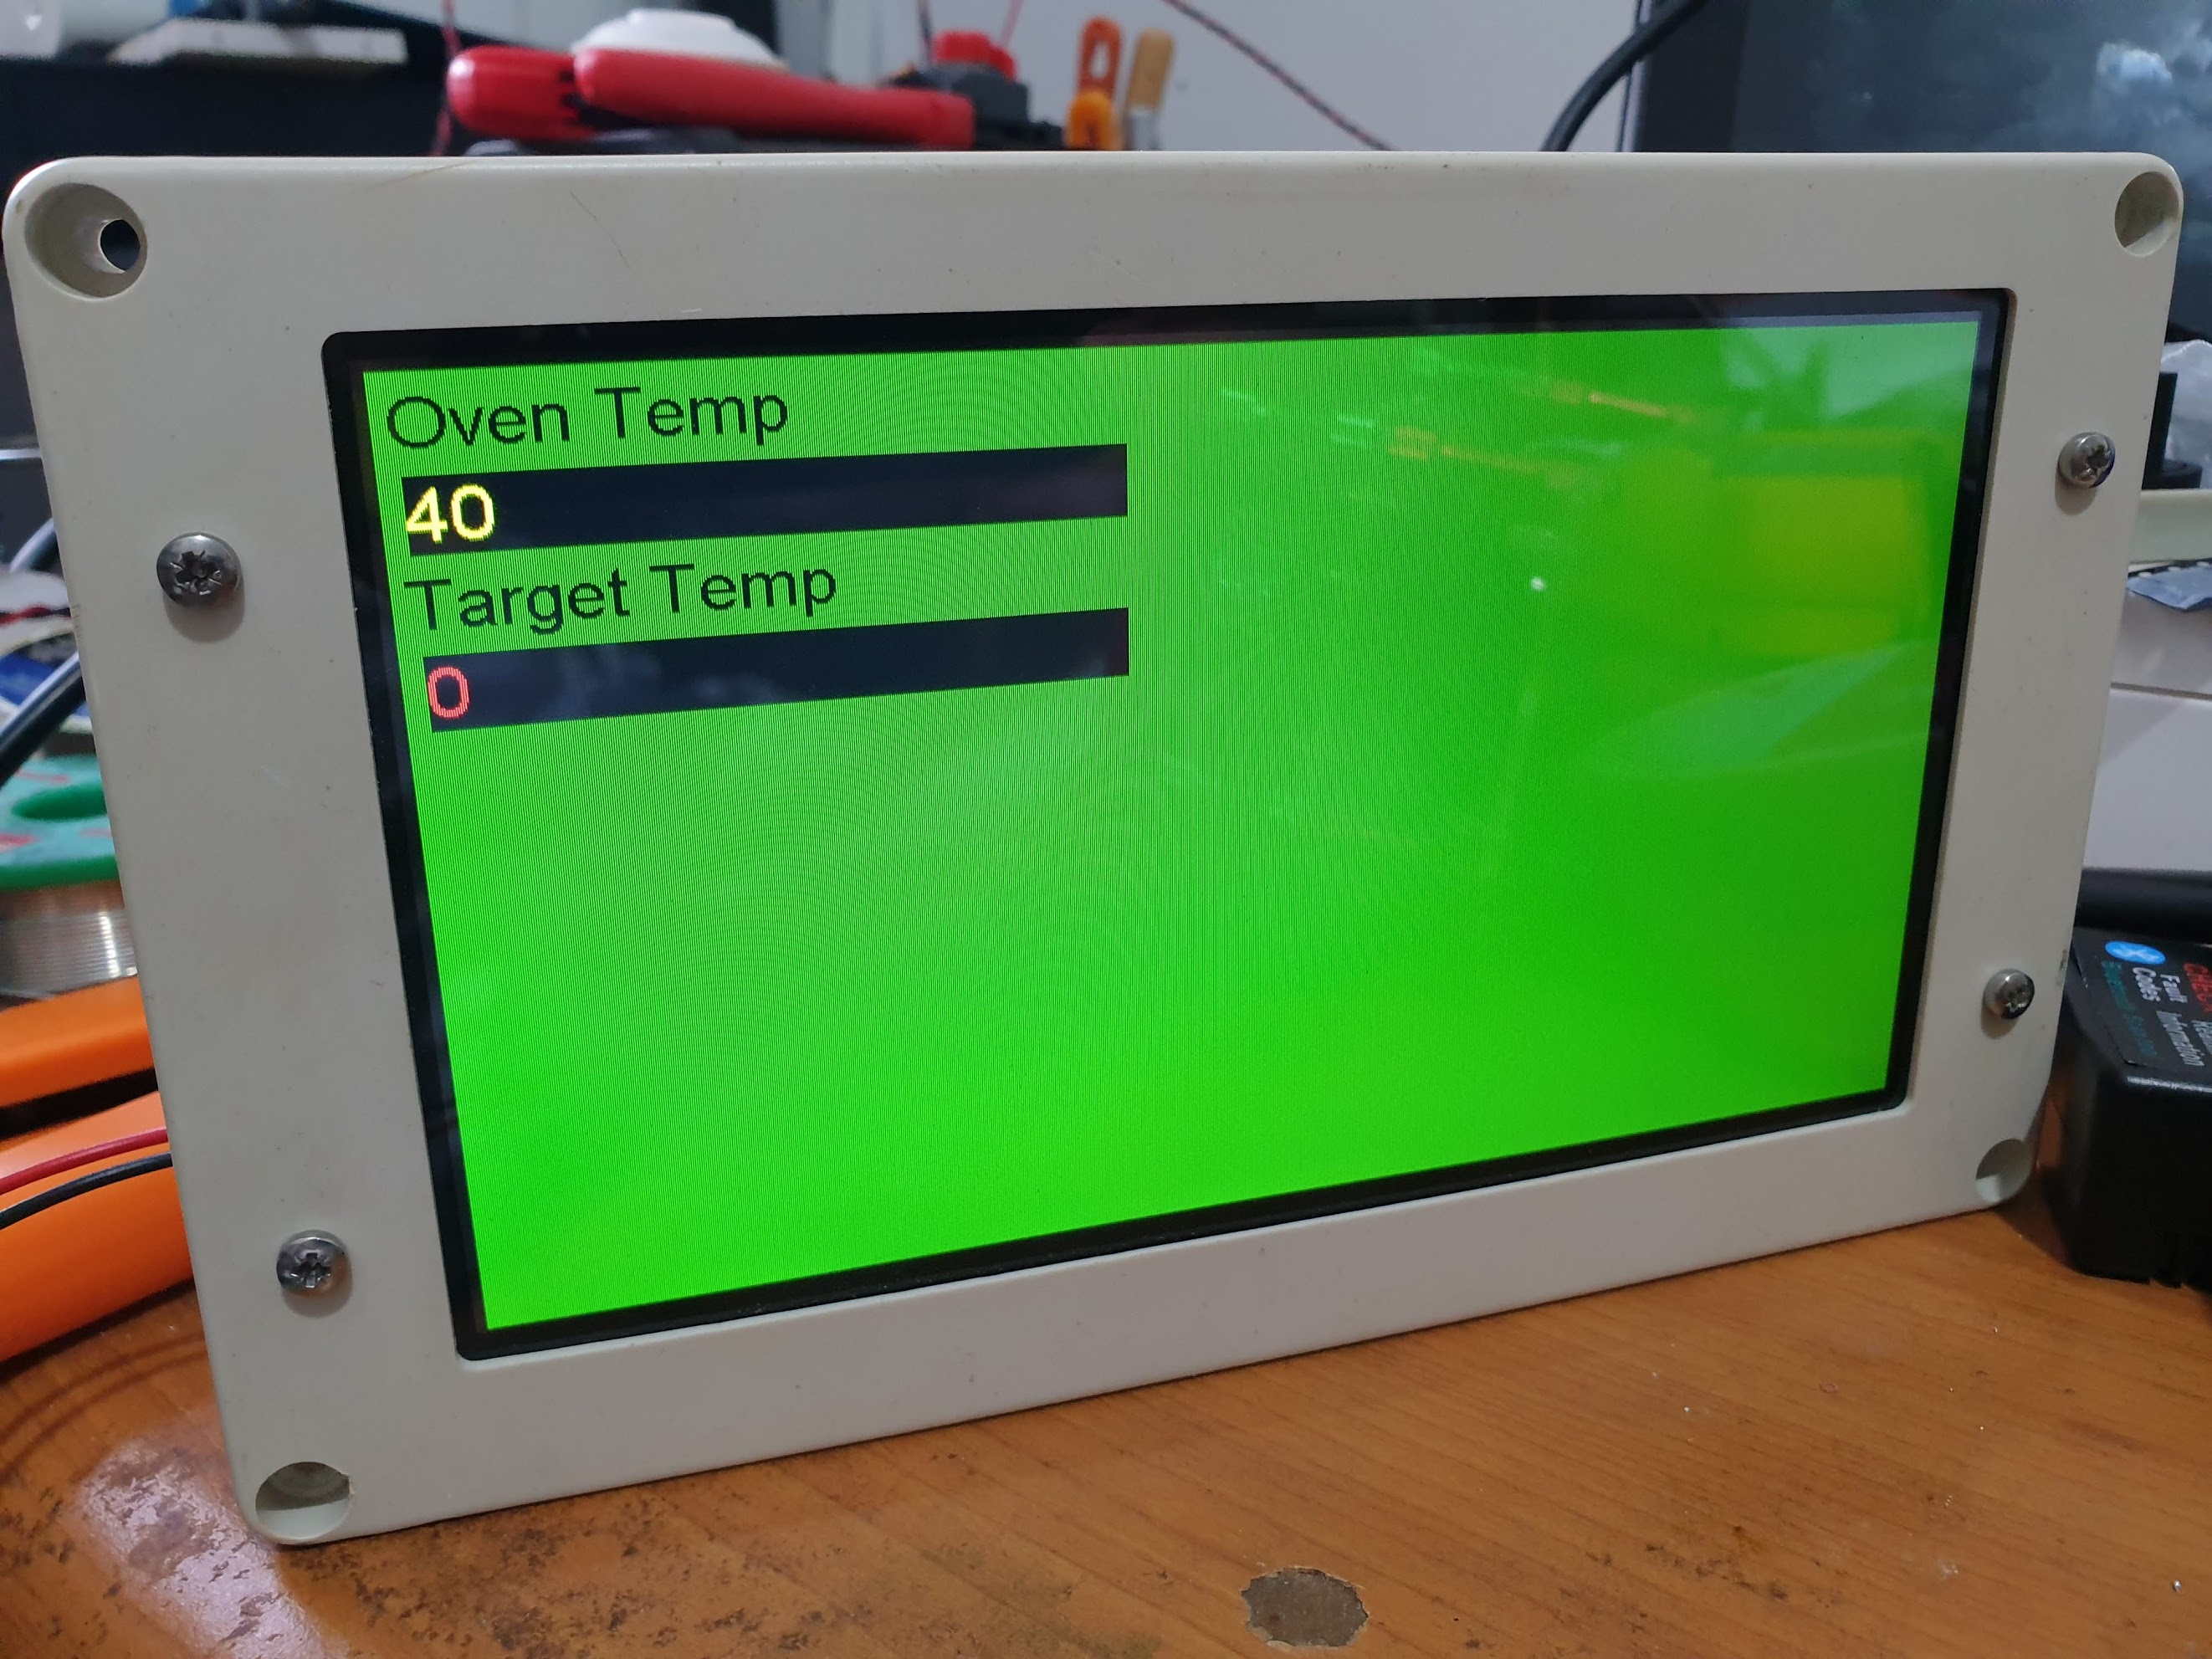
Progress. Got the LCD and touch working. Now to create the GUI.
7 Likes