Arduino Modulino

One of the many supported devices with DUELink is Arduino Modulino modules. Modulino® — Arduino Online Shop

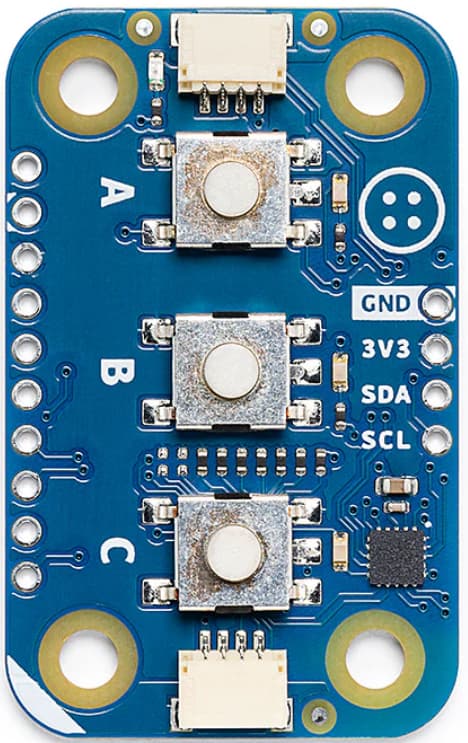
Of course, like all other similar modules on the market (Qwiic/STEMMA) , these are simply I2C devices. No smart Daisylink Daisylink | DUELink here. Yes they physically connect in a chain like DUELink modules, but the wires are only I2C, where the wires on DUELink are smart DUELink connection that the internal engine take care of.

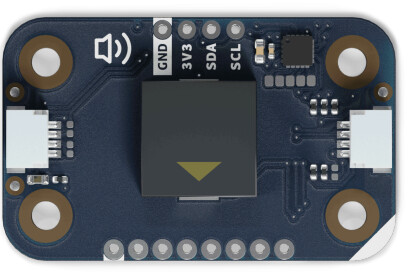
However, since DUELink is awesome, you can switch the Downlink socket to I2C Mode Downlink | DUELink and then use it to connect any I2C device, including Arduino Modulino!

The first module tested was Modulino Pixels!

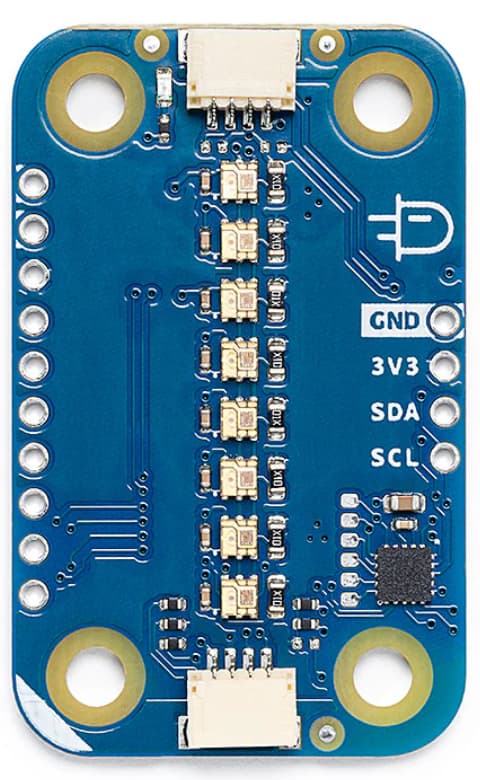
Inspecting the Arduino code, looks like it takes 32 bytes, 4 bytes for each of the 8 pixels. You need 0xe0 in the first byte of each pixel + brightness. Max brightness is 31 and we are just going to fix it to 25 in the code.

The remaining 3 bytes are Red, Green, and Blue.

You can use any DUELink module, which you can code from Python or whatever language you like, but we will use DUELink Scripts Scripting Language | DUELink . This example generates random colors and sweeps through all LEDs.

fn init()
  DLMode(5,0)
  Dim B1[32]
  for _a in range (32)
  b1[_a]=0xe0
  next
fend

fn setled(i, r,g,b)
  b1[i*4+0]=0xe0 | 25
  b1[i*4+1]=b
  b1[i*4+2]=g
  b1[i*4+3]=r
fend

fn showled()
_x= DLI2CWr(54,B1,[])
fend

init()

################

while 1

_r = rnd(3)*5
_g = rnd(3)*5
_b = rnd(3)*5
for _i in range(8)
setled(_i,_r,_g,_b)
showled()
wait(10)
next

wend
2 Likes

Buzzer can set frequency and duration, 4 bytes each. Be careful here as we are “float” in scripts, but the engine handles shift operators gracefully!

fn init()
  DLMode(5,0)
dim b1[8]
fend

fn setfreq(f,d)
  b1[0]=f>>0
  b1[1]=f>>8
  b1[2]=f>>16
  b1[3]=f>>24

  b1[4]=d>>0
  b1[5]=d>>8
  b1[6]=d>>16
  b1[7]=d>>24
  DLI2CWr(0x1e,b1,[])
fend

init()
 
################

setfreq(500,500)
wait(1000)
setfreq(1000,500)
wait(1000)
setfreq(1500,100)
wait(1000)
setfreq(2000,100)
wait(1000)
2 Likes

Modulino Knob reads an encoder position. The encoder is also a push button.

fn init()
  DLMode(5,0)
  dim b1[3+1]
fend

init()

################


while 1

DLI2CWr(0x3A,[0],b1)
_c = b1[2]<<8|b1[1]
if b1[2]&0x80
  _c = (0x10000 - _c)*-1
end
Println("Pos:", _c, " Press: ", b1[3])
wait(40)

wend
1 Like

Modulino Button has three buttons and three controllable LEDs. I wish the LEDs were PWM but they are not!

fn init()
  DLMode(5,0)
  dim b1[3+1]
fend

fn SetLed(a,b,c)
  DLI2CWr(0x3E,[a,b,c],[])
fend

fn ReadBtn()
  DLI2CWr(0x3E,[0],b1)
  _a = b1[1]
  _b = b1[2]
  _c = b1[3]
  
fend

init()

################

SetLed(1,0,1)

while 1

ReadBtn()
Println("Button A:", _a)

wait(100)
wend
1 Like

It’s great that you can use Arduino Modulino devices with DUELink!

However, I’d like to point out that there are DUELink modules with similar functionality to many of the Modulino modules with the added benefit that DUELink modules can self-host. That is, scripts written in the DUELink Scripting Language or in MicroBlocks can run directly on a DUELink module thus eliminating the need for a controller board such as the Arduino Nano R4 or Arduino Uno R4 recommended as the controller for Arduino Modulino devices.

For example, a kitchen timer project could be built using the DUELink Encoder, 16x LED Ring, and Buzzer modules. The program could run directly on one of those three modules – say, the Encoder – so a separate, more expensive controller board is not needed.

It looks like Arduino Modulino modules are built around the STM32C011F4 microcontroller, which has 32 Kbytes of Flash memory and 6 Kbytes of RAM. In contrast, the STM32C071 used in DUELink modules has 128 Kbytes of Flash and 24 Kbytes or RAM, allowing any DUELink module to run a full scripting system.

2 Likes