… And this thing is awesome.
2 Likes
Tell us more.
Very cool.
Spendy. But very cool. 

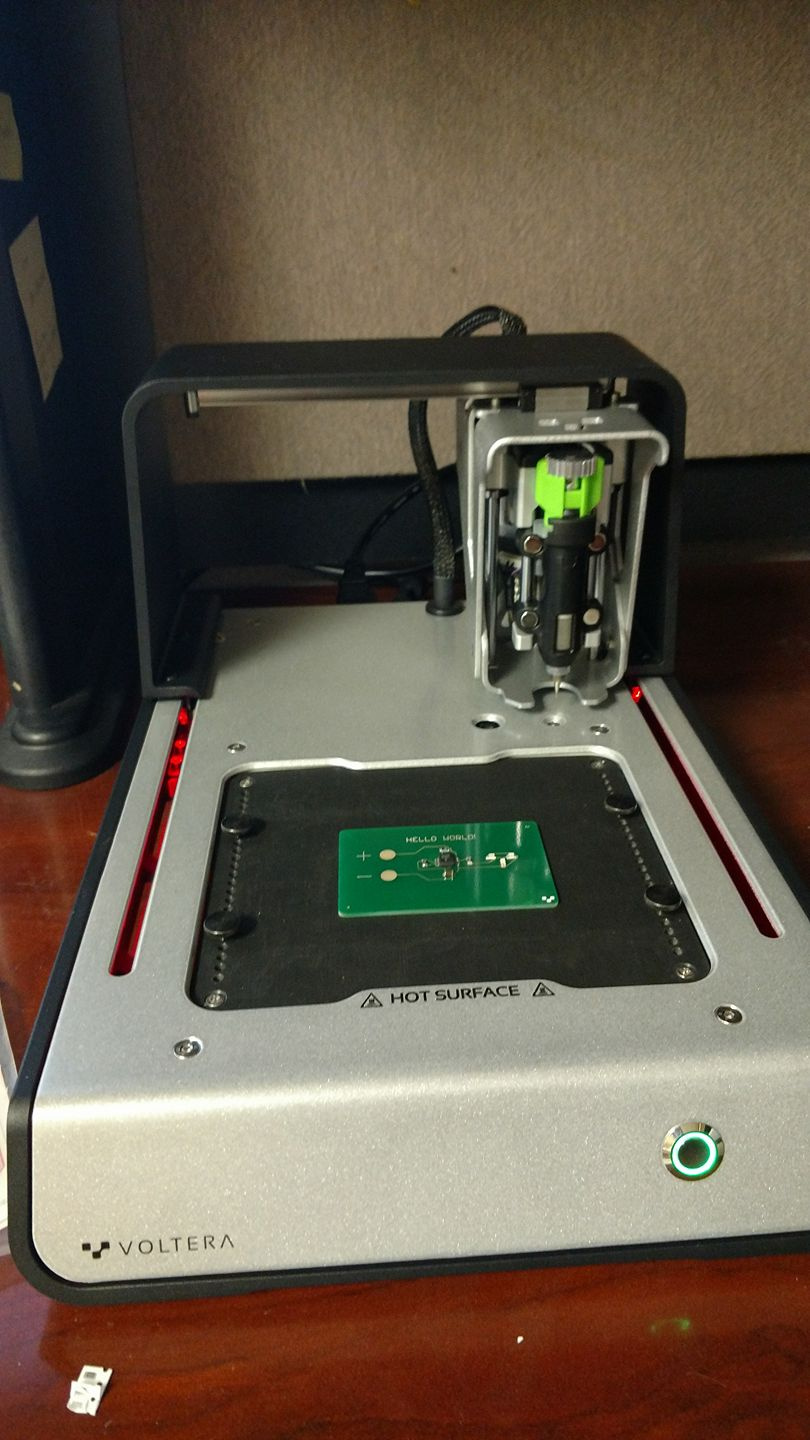
So far it’s very easy to use. But, I’ve already broken one nozzle and really fought my first prototype print. Hand soldering on the conductive ink traces is also proving to be very tricky.
I got mine last year from their Kickstarter campaign. Nice machines, and great people to work with, and I’m currently doing some beta testing with them.
I do wish they would/could get the multi-layer using insulating ink working though, this was a big feature during their campaign and the main reason I got one, but it seems to have been sidelined due to being quite difficult to do.
The relatively short shelf-life of the inks is another problem, 6-months in the fridge goes past very quickly.
If you want to be able to print at a moment’s notice you would have to restock (at $US100 plus postage for a bottle of ink) in advance every 6 months, as if you only order when you need it then it would be just as fast (and cheaper) to order fast-turnaround commercially fabbed prototype boards.
1 Like
Appreciate the feedback. Sounds like this is a neat idea, but only practical for simple stuff where you’re churning out test boards regularly. And for folks with deep pockets.
I think that’s an OR. This does seem to me to be a highly “discretionary” technology. Even a CNC would seem to be potentially more versatile to me - although not easy to make it reliably a PCB tool without some practice work
This is a limited use since it can’t do multi-layer. Doing front/back is also somewhat tedious (doubles the amount of time since you have a 1 hour bake cycle on the flip side, even if it’s just for a few small traces.)
To ease the solder issue I tried just printing a solder mask and put it through a reflow cycle. Was hoping the pads would be tinned that way. Unfortunately the solder just balled up on the pads and now the pads are covered with a hard, baked on flux residue.
They ship a special solder to hand solder with specific directions on exact soldering temp, etc. However the attempts I’ve made just result in the solder balling up on the iron and not sticking whatsoever to the pads, even when they are burnished and shiny silver to start with. They just oxidize on contact and then nothing sticks to them.
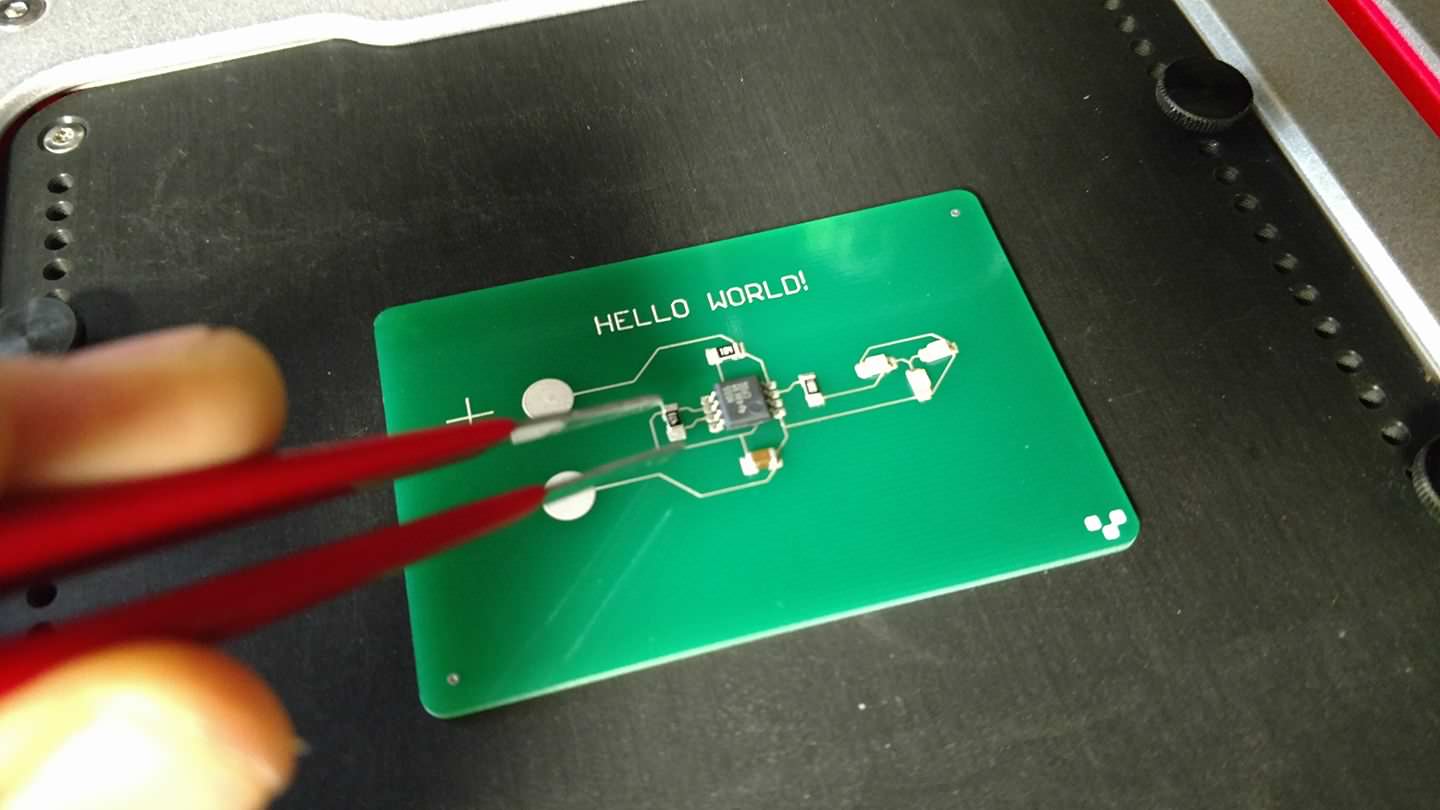
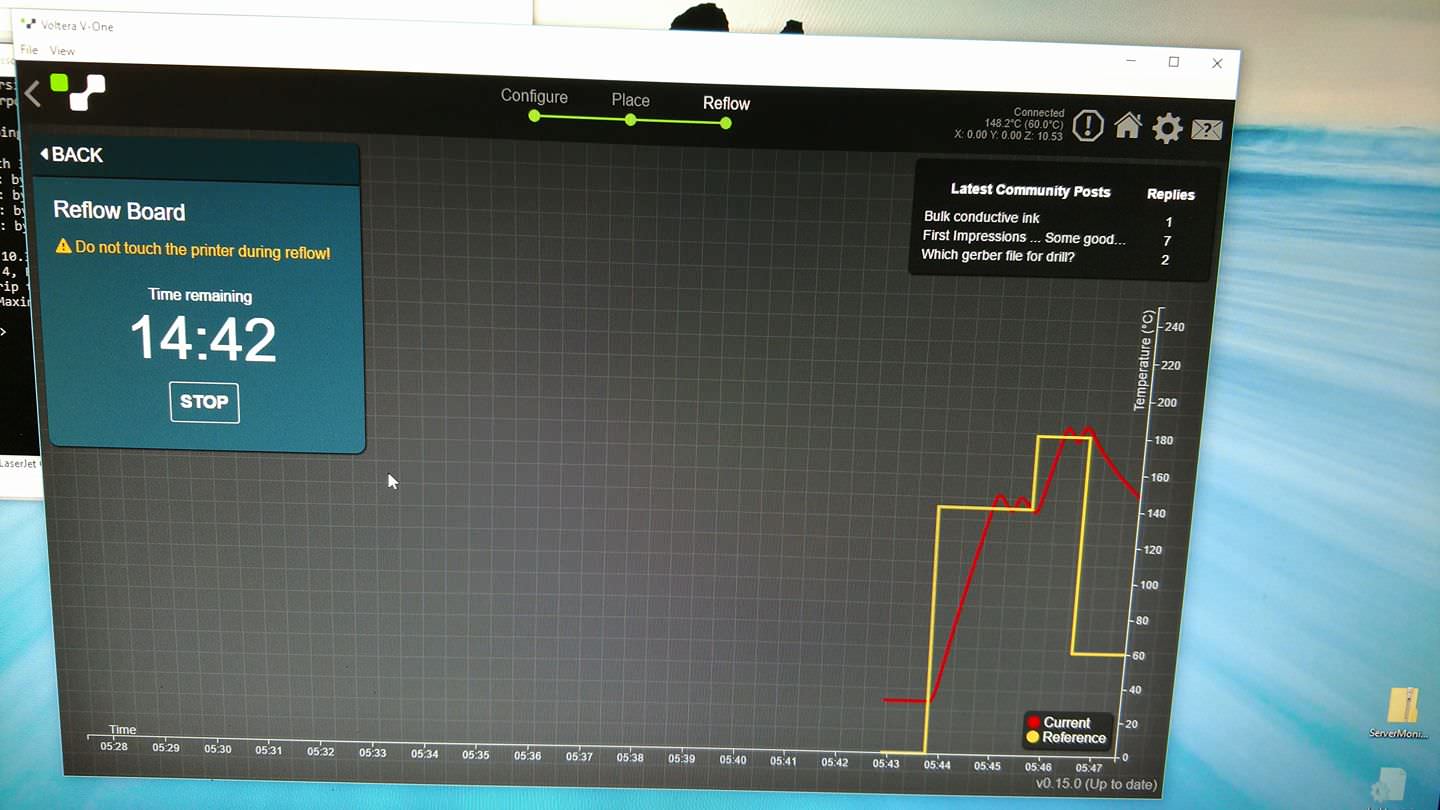
The first reflow I did worked (the 555 “hello world” circuit) but only for about 10 minutes. Then I had a cold solder joint develop, and when I was trying to find the bugger on the bench, the 555 chip fell right off.
So far I haven’t had much luck with it, and it’s been frustrating.
On the flip side, it does print solder very well, so I may still use it for that in lieu of manual solder mask templates, if nothing else.
You can refill the solder syringe yourself, BTW. Get a suitable solder then use a string and metal tube. Spin it to remove bubbles (pluger side out) from the solder, then eject the air that accumulates on the tip. It appears they’re using standard low temp solder, which you can get just about anywhere.
As far as the conductive ink goes, though, I think you’re stuck buying that through them.
The Chipworks flux they send (#295? Can’t recall and I’m not at the office right now) was the exact same I’ve been using to hand solder surface mount components before. (W/ a solder iron to apply the solder to pads, then a precision hot air rework station to reflow)
1 Like
Next week (or two?) I’ll be doing some basic stuff with GHI modules. Waiting for some components to get here. Already have some G30, G80, G120, and G400 modules sitting in a drawer.
Hopefully I’ll get the “components not sticking” kinks worked out by then.
The goal is to prototype stuff (to make sure nothing got screwed from breadboard to circuit layout in eagle). Then once proven get short run PCB’s ordered to field test.
It’ll cut down on time significantly if the “proof” segment can happen in house without waiting on production turnaround. Can’t beat “same day”.
1 Like
So I’m building out on a MCP23017 GPIO module and wanted to do a prototype board. Got my stuff designed in eagle…
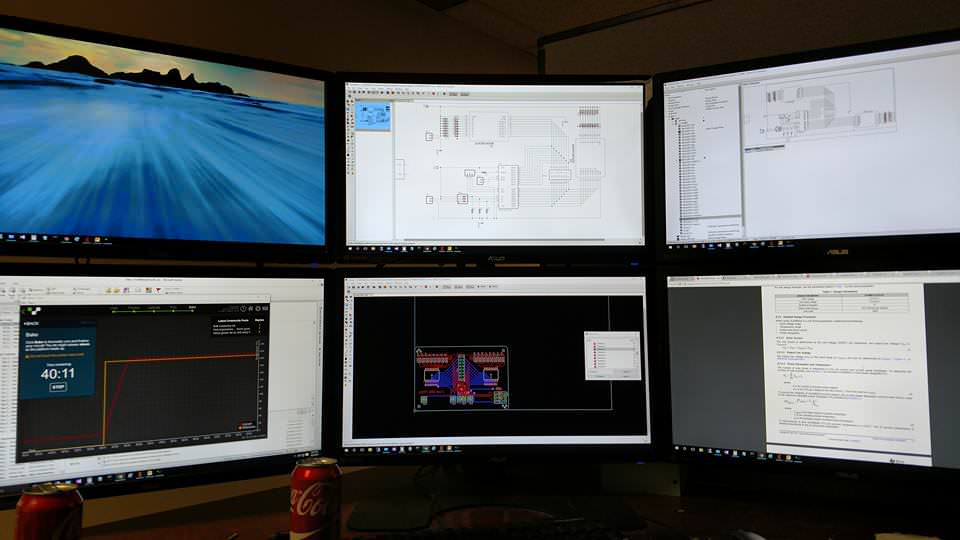
Well technically redesigned. I’d been testing on breadboards with the SIP package and figured with the new prototype printer I might as well try to rework it using the smaller 6x6mm QFN package.
Much more compact, this ended up giving me room for some darlington arrays and a 5v rail for driving relay outputs, as well as keeping the 2x8 input block intact.
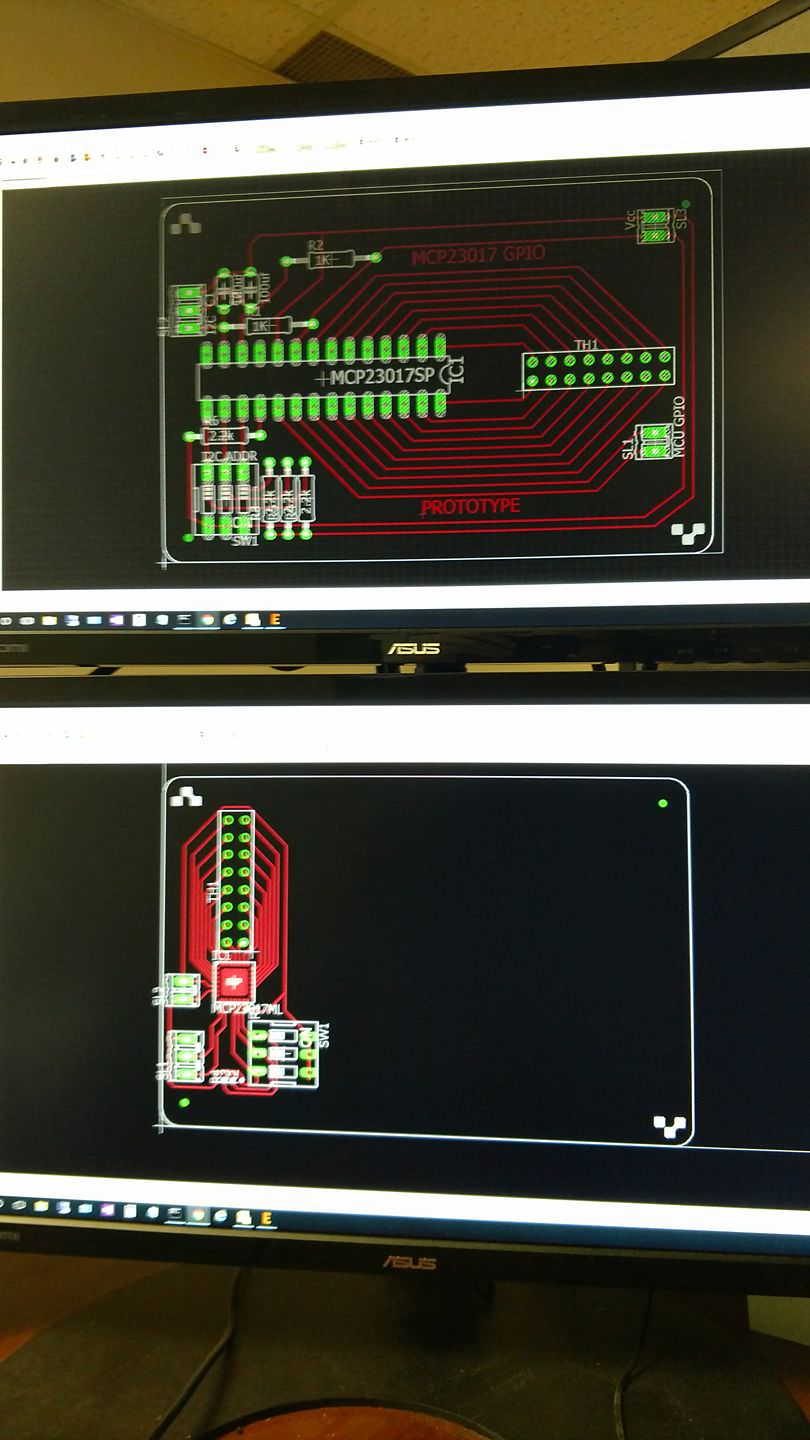
Those pads are TINY.
Of course this threw up all sorts of red flags with the DRC for pad placement / etc but figured “why not give it a shot.” Under magnification the pads were actually separated by a very thin green line. So far so good.
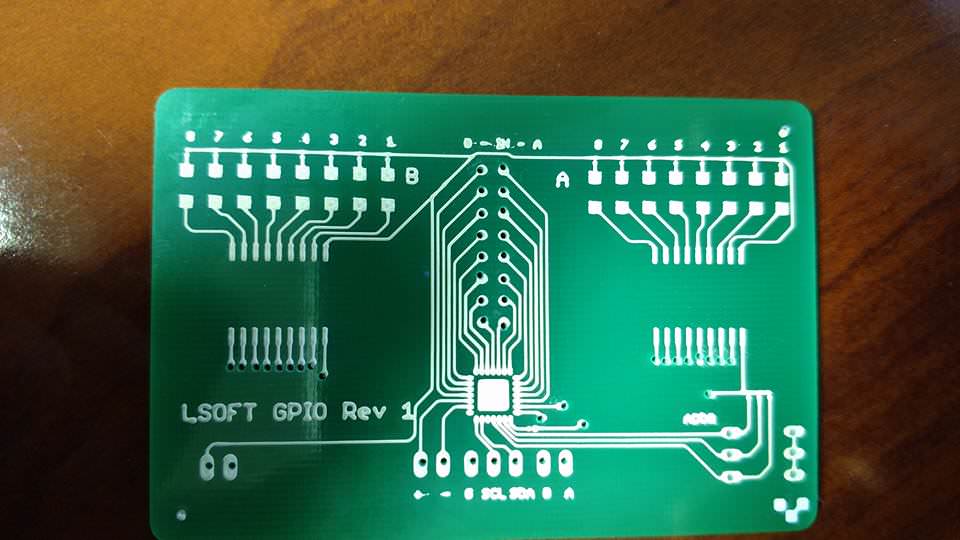
Then I made the mistake of drilling the board before printing the back side. Duh.
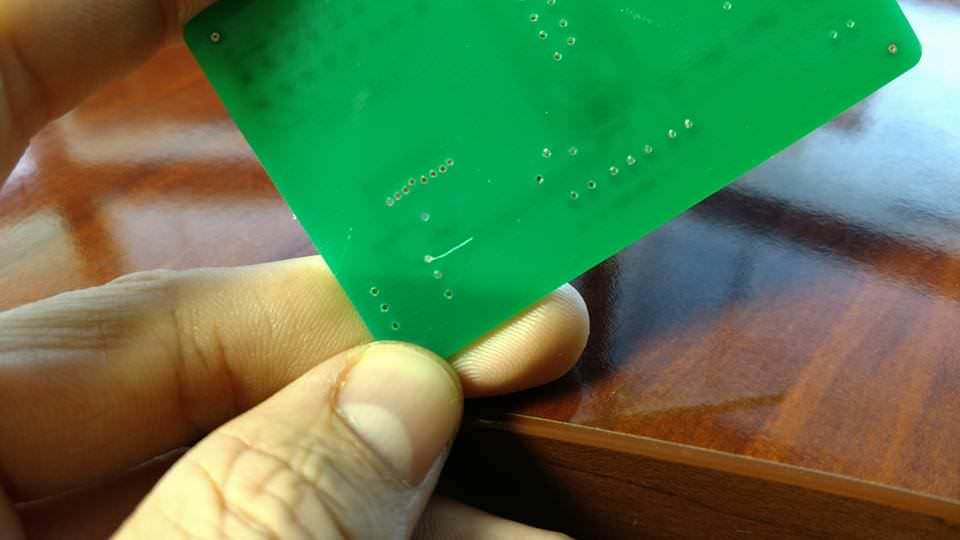
My drilling wasn’t very precise so, despite using the holes file the Voltera kept dropping a probe in to a hole during the probing operation. Gouged up the board. Brought it home for the kids to play with since it’s scrap.
Will give it another shot Monday.
It’s hard to see on the pictures but there’s also some itty bitty 0201 resistors on the schematic. Those fared worse than the QFN chip - I would manually have to scrape a line between pads with a razor on most of the resistors as the traces touch. I doubt I’ll be able to use resistors that small on any prototyping projects using the voltera.
1 Like
So I’ve broken all of my nozzles at this point. Managed to finish up my first actual prototype board with a broken tip on the conductive ink.
I don’t know what went wrong, the height mapping probe phase has goofed up a couple of times now resulting in the tip of the conductive ink nozzle making contact with the board as it is drawing, resulting in an immediate $15 broken part.
One other time it decided “I’m going to print everything 1/2” off the board in this one corner" and just slung ink everywhere.
Almost feels like there’s faulty memory in the thing and probe data isn’t getting recorded correctly, since both incidents happened in about the same place on the circuit.
Frustrated with the machine so far.
Going to order new tips and give it another shot on a G30 circuit (the SOC, not the TH module) next week to see if it can actually print and solder small enough to do that package.
At least I’m only scrapping a $15 part if it screws up, instead of more expensive G120 or G400… (I do have SODIMM sockets to try now as well, but don’t want to burn more expensive components at this point until I have a good handle on what this machine can do)