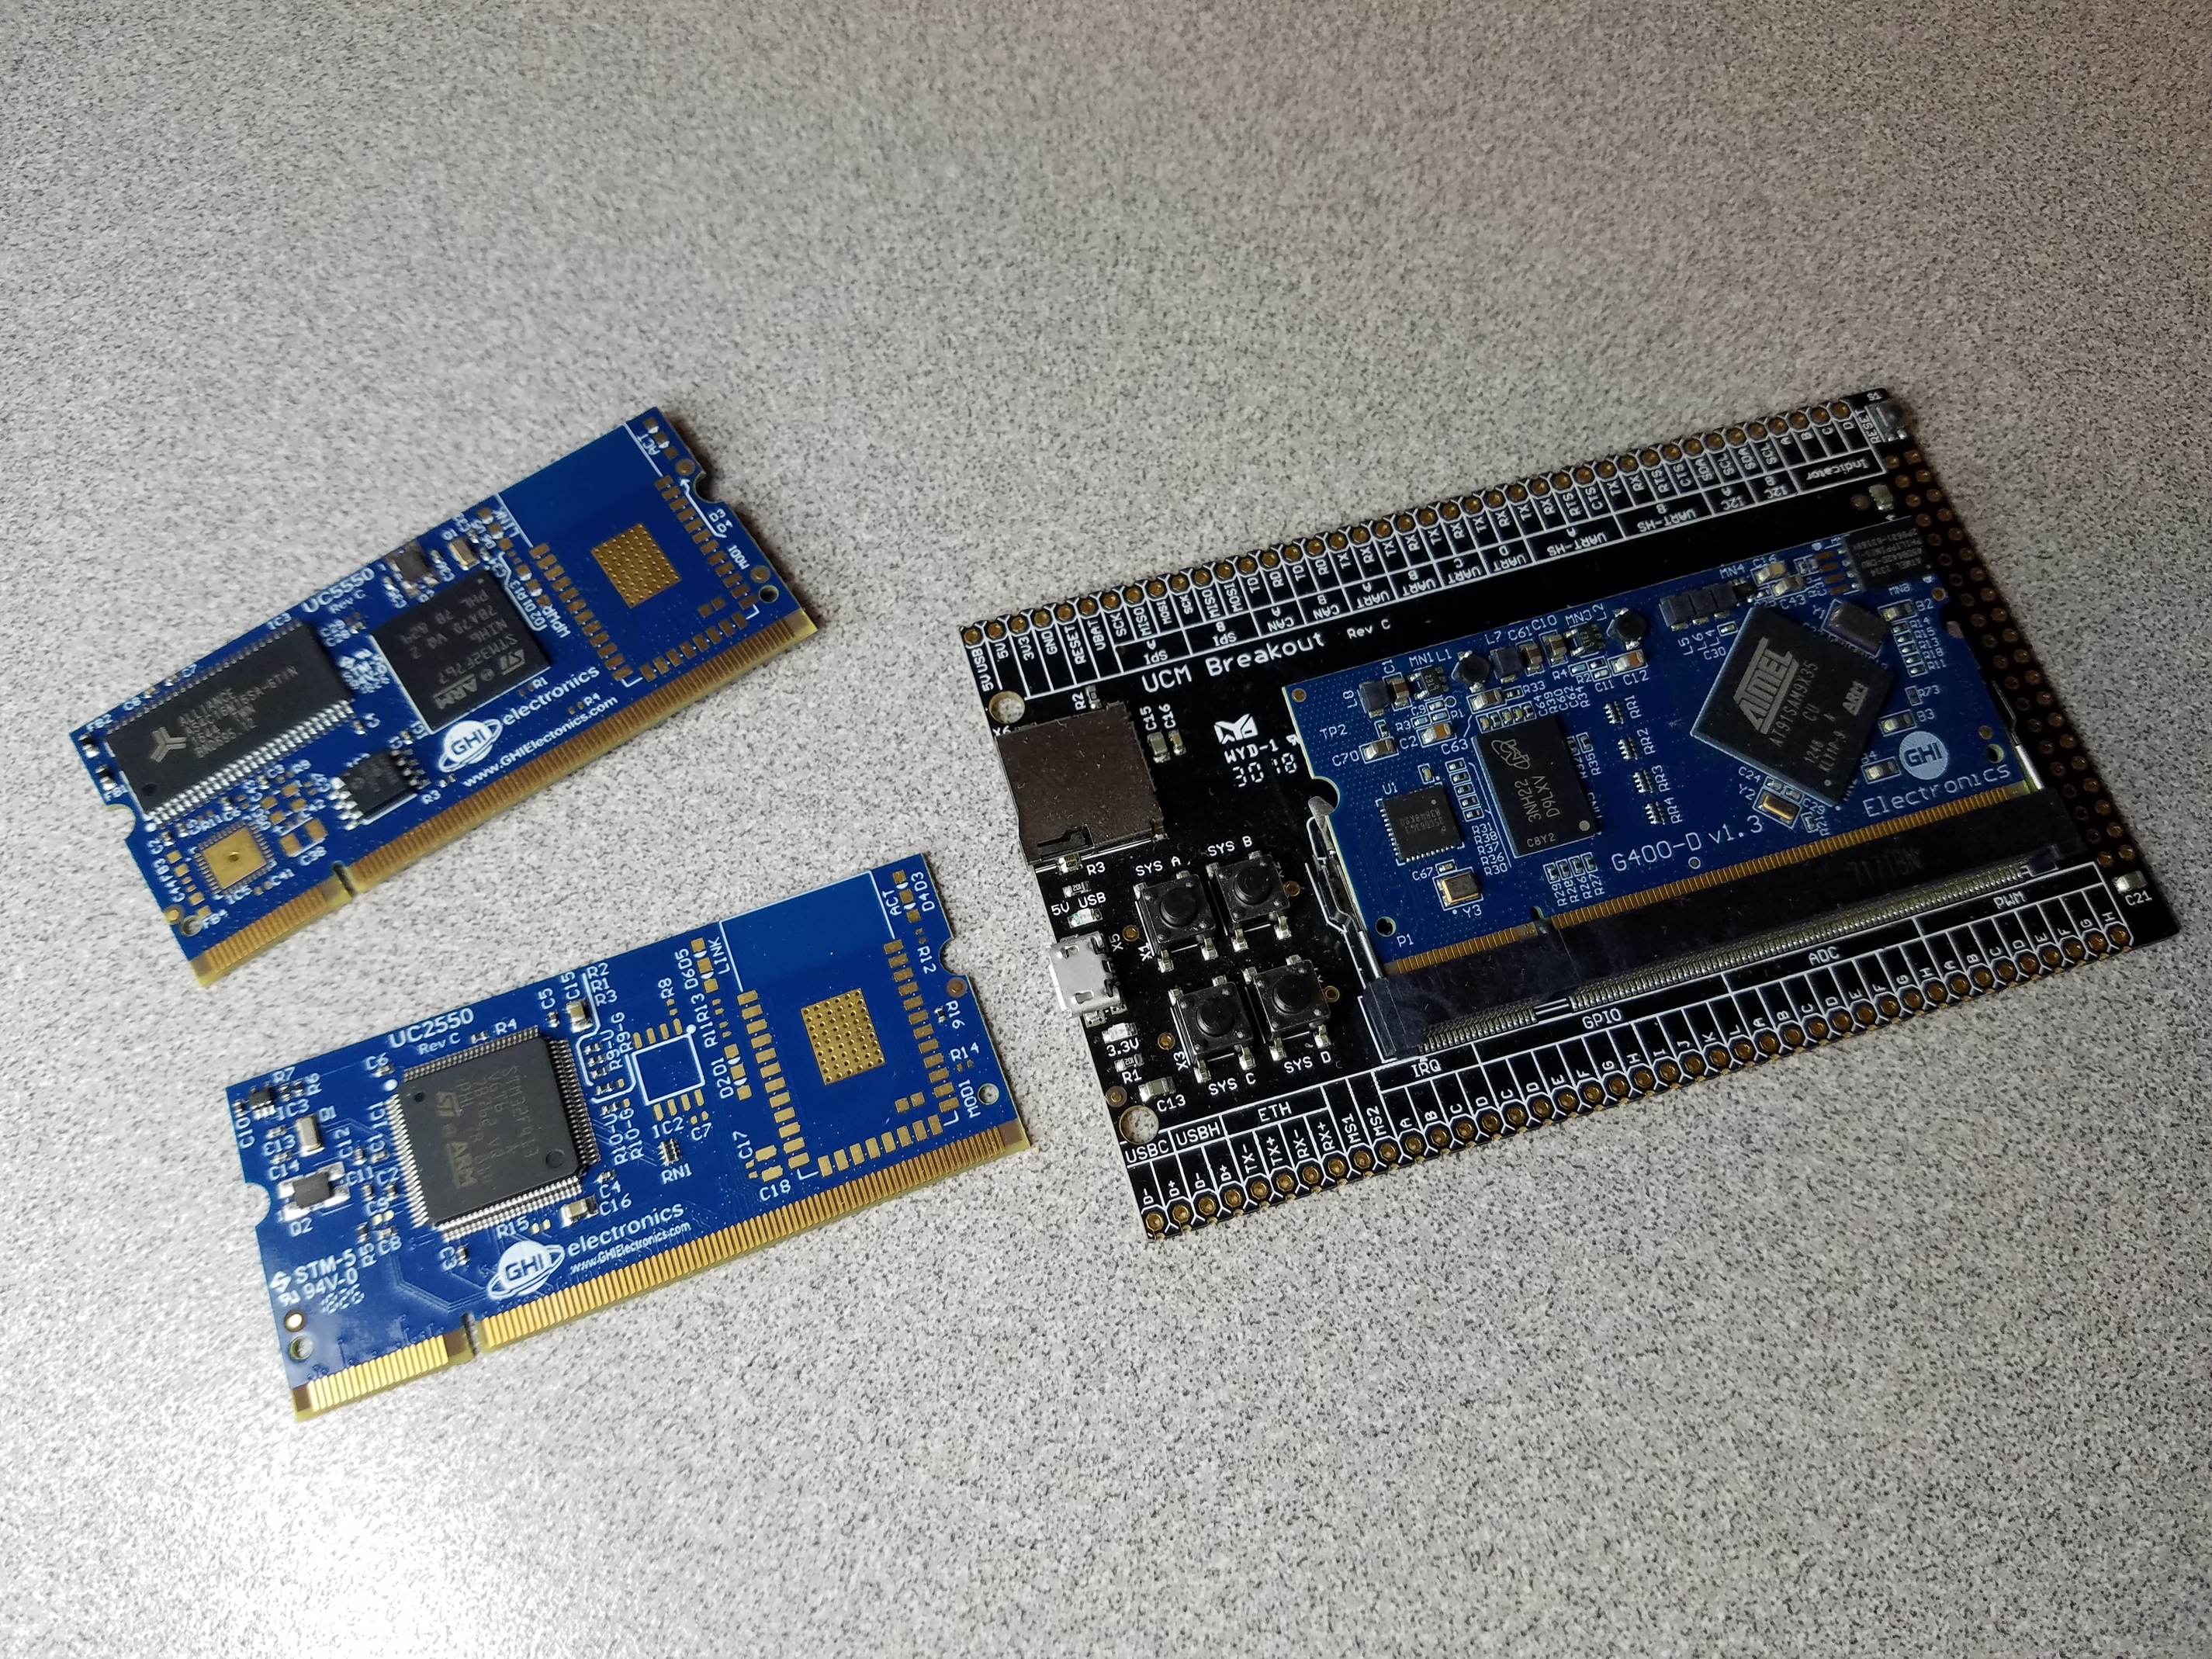
As referenced here, the UCM standard allows you to make custom boards that will allow for an easier drop-in upgrade option to another module offering more options or, perhaps, more processing power. By following the UCM standard, the peripherals are all found on the same pins, giving greater flexibility for future options (please note, however, not every module will have the same peripherals available; review this page for module compatibility).
Modular Options
Here are some things of note that you should consider when choosing the UCM standard:
- Expose the SYSTEM pins (SYSTEM A, B, C, and D) as these pins are hardware and software specific for accessing boot functions.
- Expose the RESET pin. This pin allows for an external reset of the processor in case of a software malfunction.
- Expose UART A with optional headers or a serial-to-USB chip (such as FT232R) for serial communications to allow for serial debugging under the TinyCLR OS and other OS options such as Linux.
- Expose the JTAG pins if your intent is to program the bare metal module without an OS to allow for hardware debugging. Please note that there are two types of JTAG: full and reduced pin count ( serial wire). If the full JTAG is exposed, the serial wire option is also exposed.
- Expose the SD card signals if a Linux OS option is to be used. Some Linux systems can be booted directly from an SD card.