You have received your Ghizzy Jr and can’t wait to try it out.
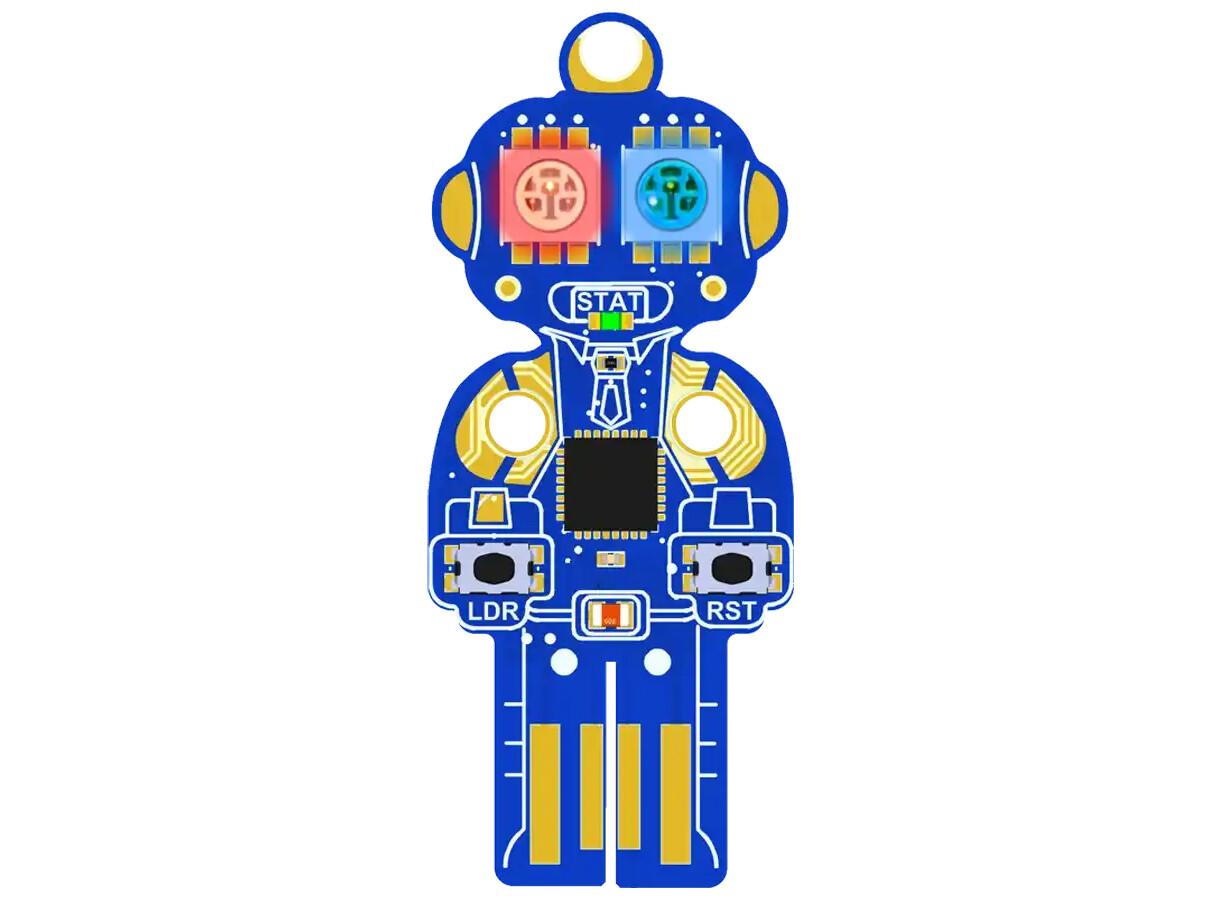
There are many ways to use “Jr” but we will only cover using MicroBlocks on it, with nothing daisylinked to its downlink connector.

USB & Power
First of all Jr’s “legs” plug right into a USB connector, or use a USB cable extender/adapter. You can also use a phone charger or a power bank to run Ghizzy Jr without a PC! Here is an image with Ghizzy (grand!) but Ghizzy Jr works the same way!
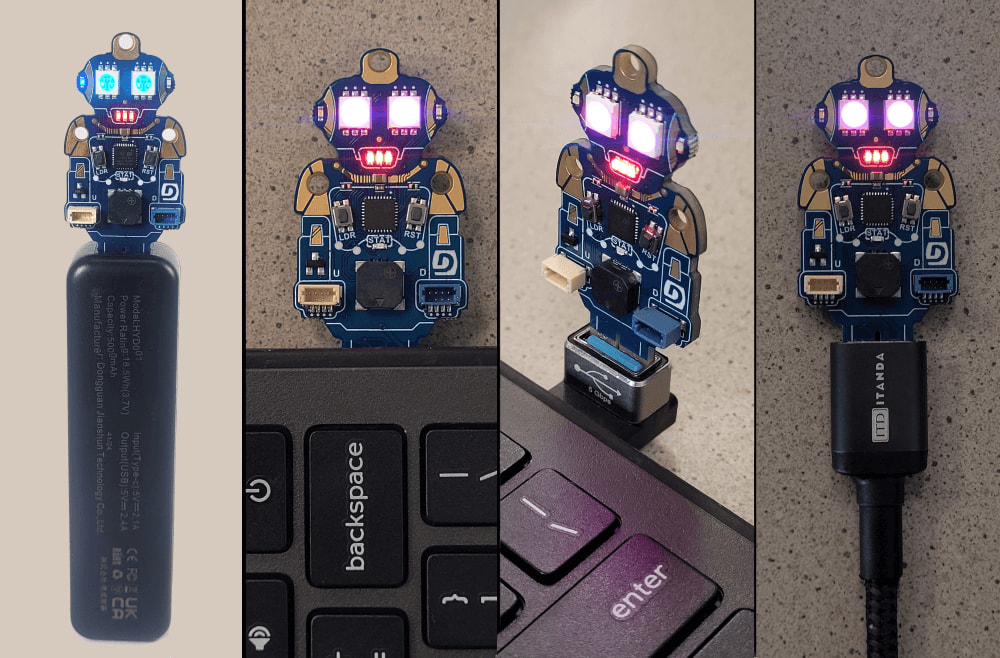
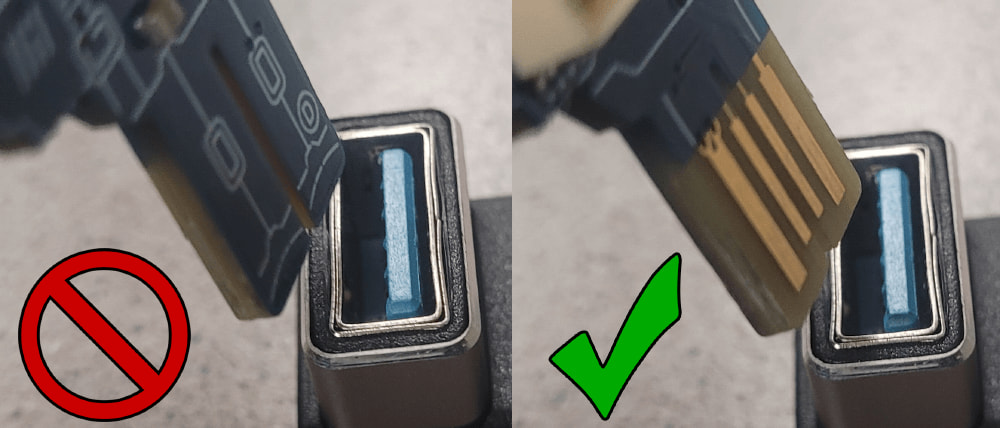
One last note, Jr needs to plug in a certain way, but plugging it in backwards will not cause any damage.
MicroBlocks’ Firmware
Jr needs to be loaded with MicroBlocks’ firmware, and ideally the latest one. Your board probably already has the latest firmware but if not, the 2 step process is very simple loader.duelink.com/microblocks
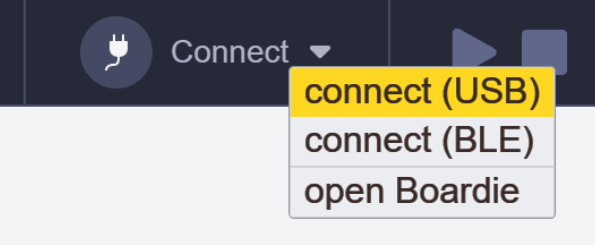
Ok! Let’s start coding! The full instructions are found at on the MicroBlocks page if you want, but we will do a simple test to make sure the board is working. Go to microblocks.fun/run and click the connect button and select USB.
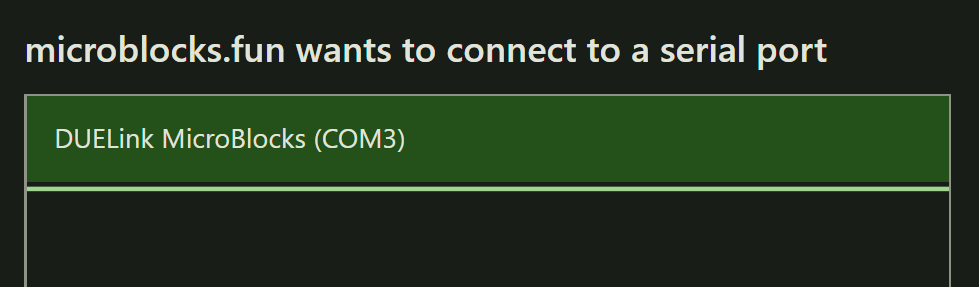
From the pop-up window, select DUELink MicroBlocks and click the Connect button.
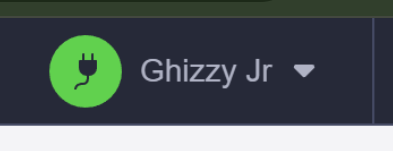
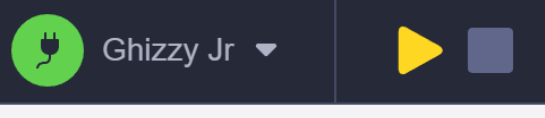
The first connect button will change to Green and show Ghizzy Jr.
Great! Now, whatever you do on the designer will immediately show on the board! It is all live updated with MicroBlocks.
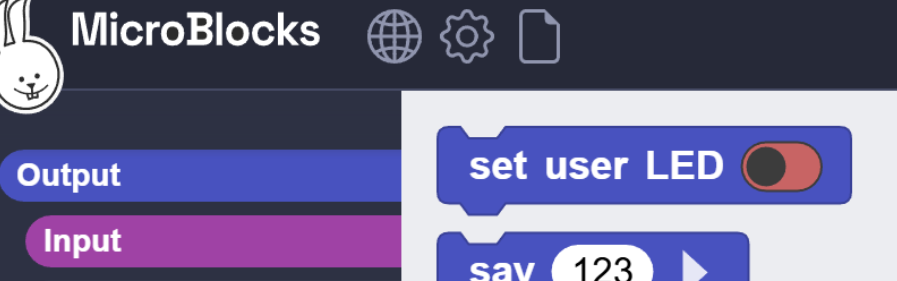
From the left side options, click on Output and then click in the middle of the “set user LED” block.
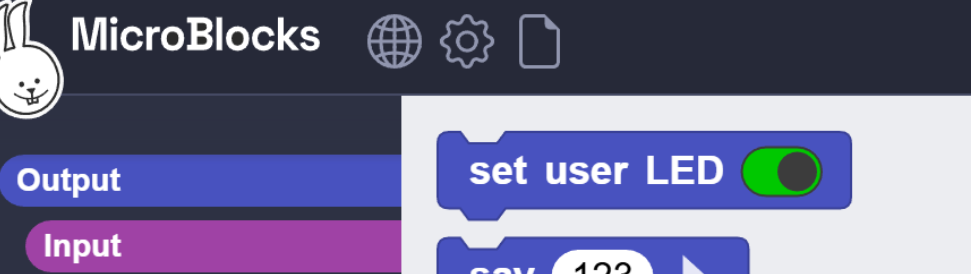
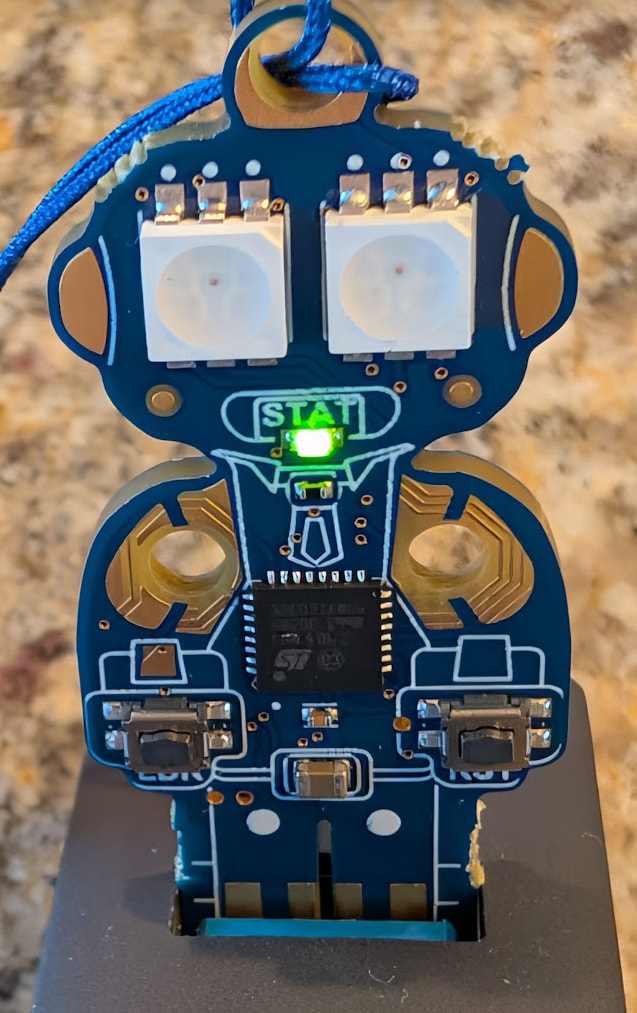
The green LED on Ghizzy Jr “mouth” will turn on. All DUELink boards have STAT LED and that is the “user LED”.
Click the toggle switch in that block to make it “off” then click in the middle of the block to execute it. This will turn the LED off.
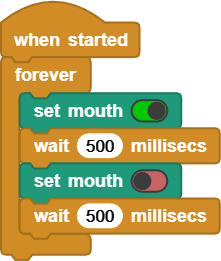
That showed the “live update” feature of MicroBlocks. Now lets make a very simple program that blinks the STAT user LED (the mouth)!
From the Control menu, find the “When started” block.
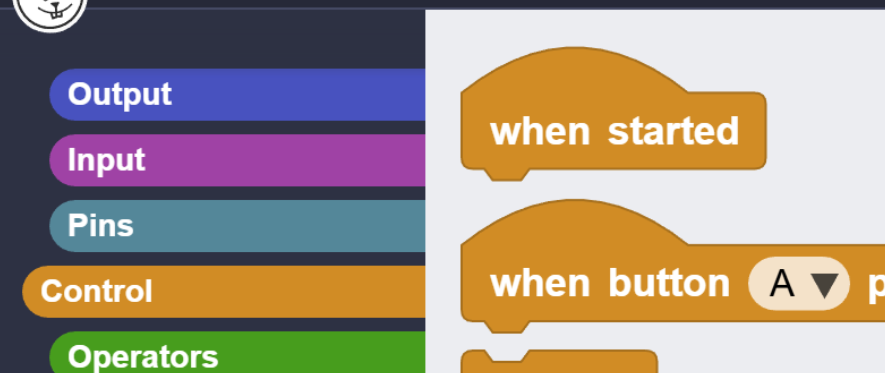
Drag the block into the design area. Then go back and find the “forever” block. We want the LED to blink forever! Then drag the same “set user LED” block twice. We want it off once and on once. The last thing is to add “wait” because we want the LED to be on half a second (500ms) and on for another half a second. The whole program will look like this:
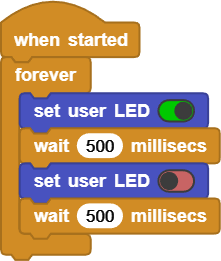
Click in the middle of “when started” block to start the program. You can also click the play button.
Your Ghizzy Jr is now loaded with the program and it will automatically run it when it is powered up. You can for example click Ghizzy Jr into an power bank or a phone charger and it will start blinking!
We will now show you some more examples with a direct link to the projects so you can just load them.
Policeman
This first project will fade the 2 “eyes” between red and blue. The code (blocks) will simply do a count up and then a count down.
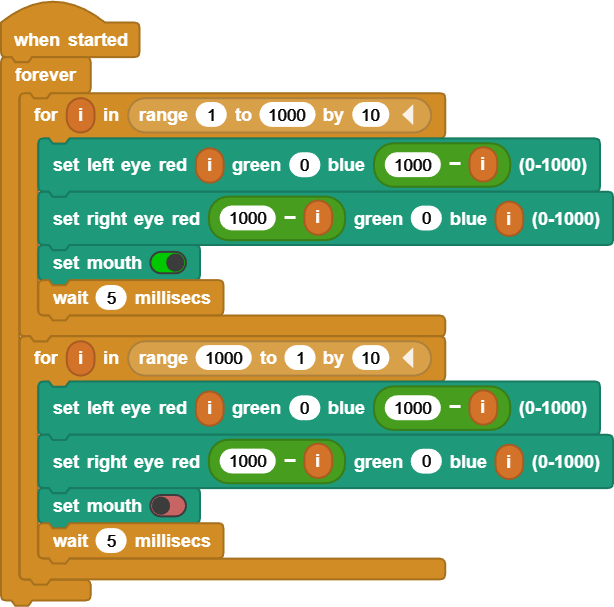
You can click here to load the project.
Color Selector
This project will cycle through random colors when the LDR button is pressed. Release the button when you see a color you like.
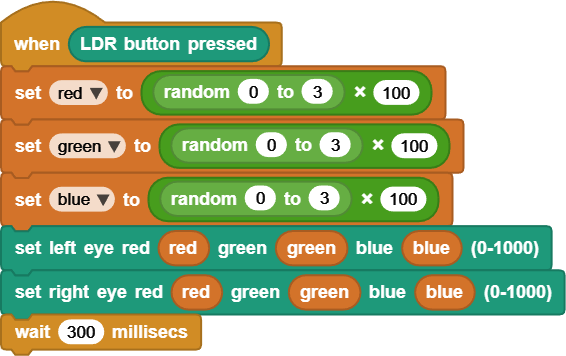
It also use a forever loop that blinks the “mouth”.
Click here to load the project.
Delay Finder using Timer
This project is a bit more advanced as it uses a timer to determine when a second has lapsed. It uses this timer to change the blinking delay. This timer is only triggered when the LDR button is pressed. It will then “say” the delay on the MicroBlocks designer (if connected). The blinking happens on the left eye. The right eye will flash red once when the delay gets changed.
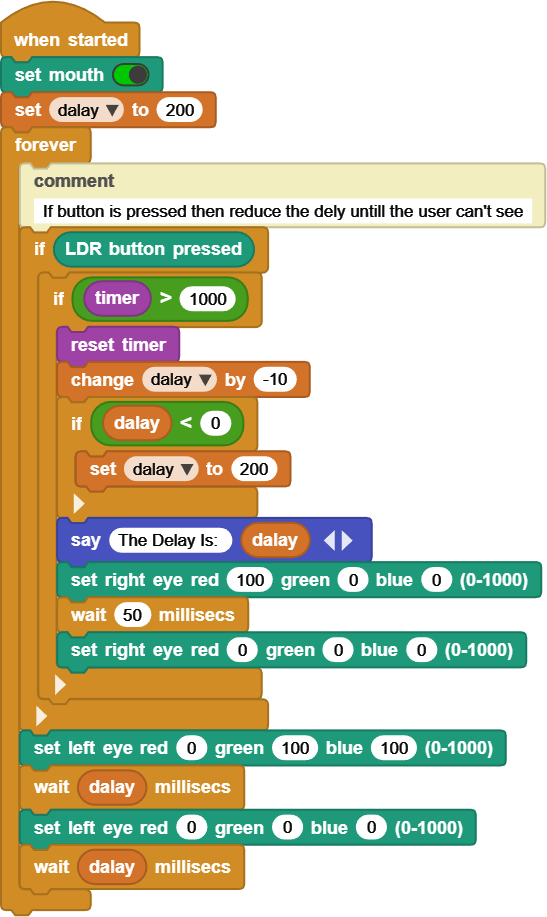
The full project is found here.
What is Next?!
You can start modifying any of the projects. For example, add the say block to the Color Selector project to tell you what the value is. Then try to scope what is available under control and operators.
Of course, everything we did here is with Jr by itself. You can now daisylink any of the many available modules to give JR more power. Like add a Buzzer to make sounds, a Servo Motor to move objects, or a Light sensor to read light levels. The possibilities are endless.