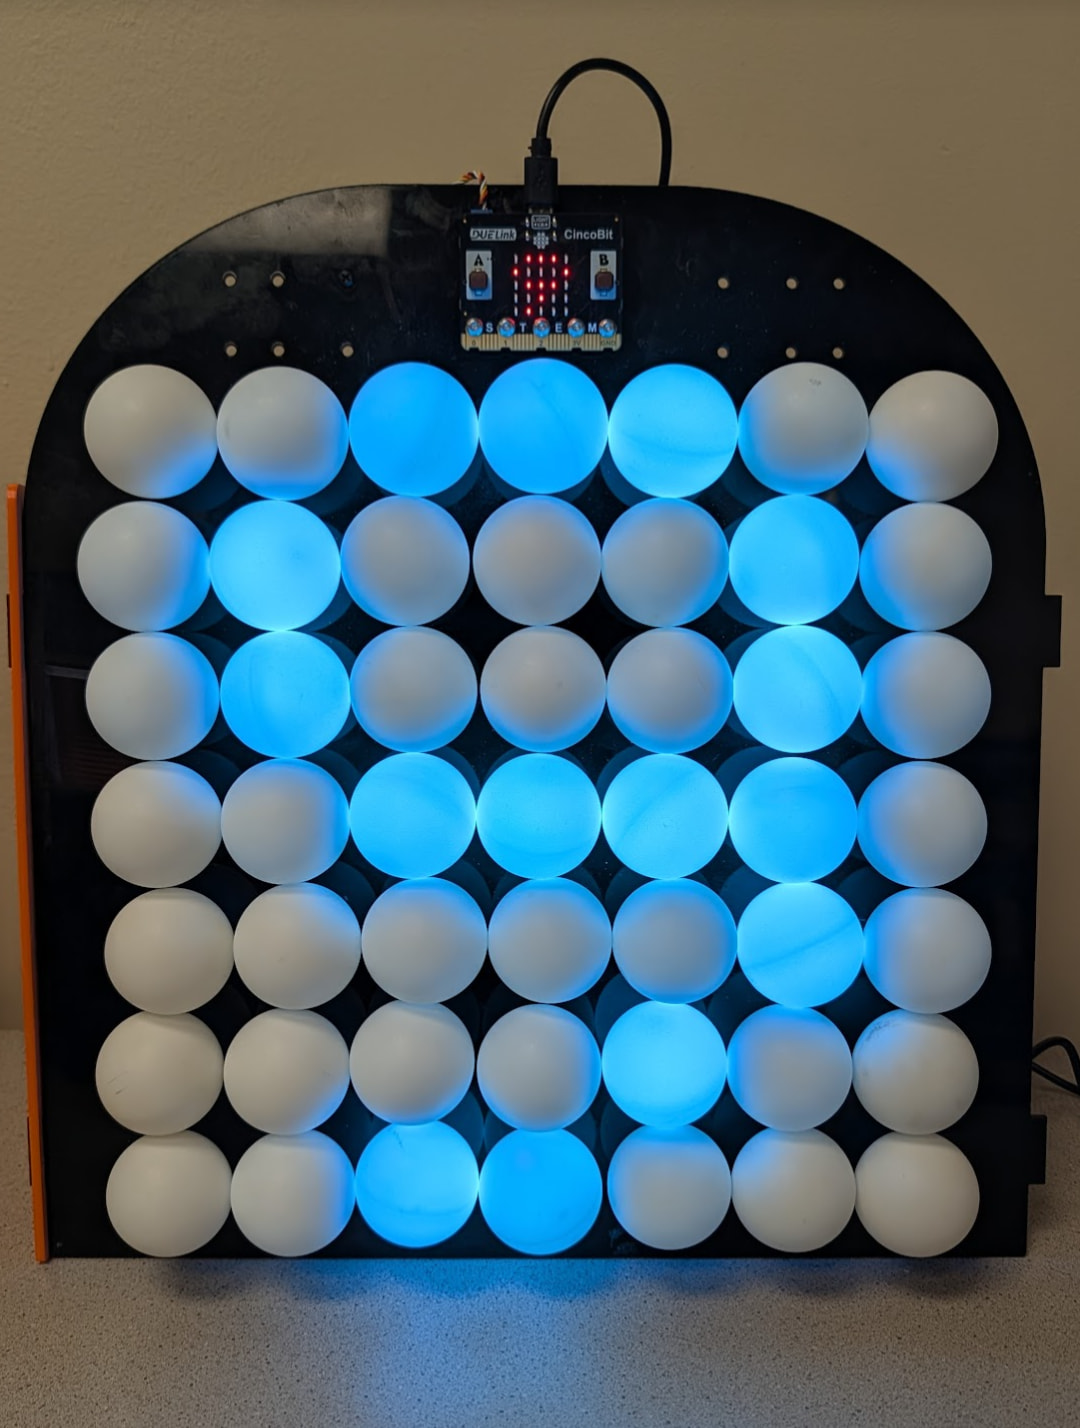
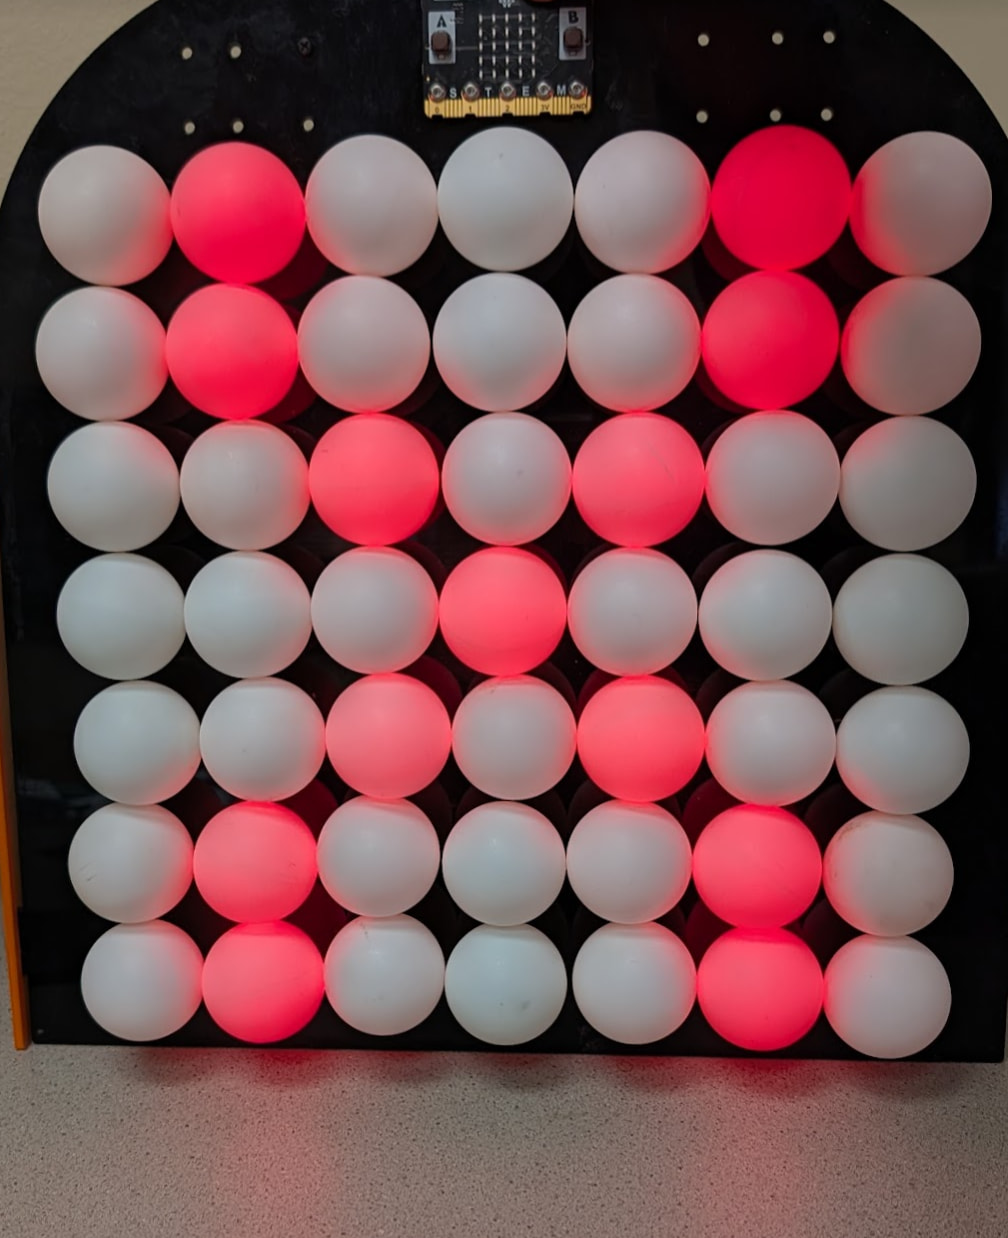
We have seen a project online where someone use Ping Pong balls to create an LED matrix and couldn’t resist making one!
What about a Ping Pong LED matrix that is easily controllable using MicroBlocks! Let students see how fun it is to code Ping Pong Balls, using block-coding!
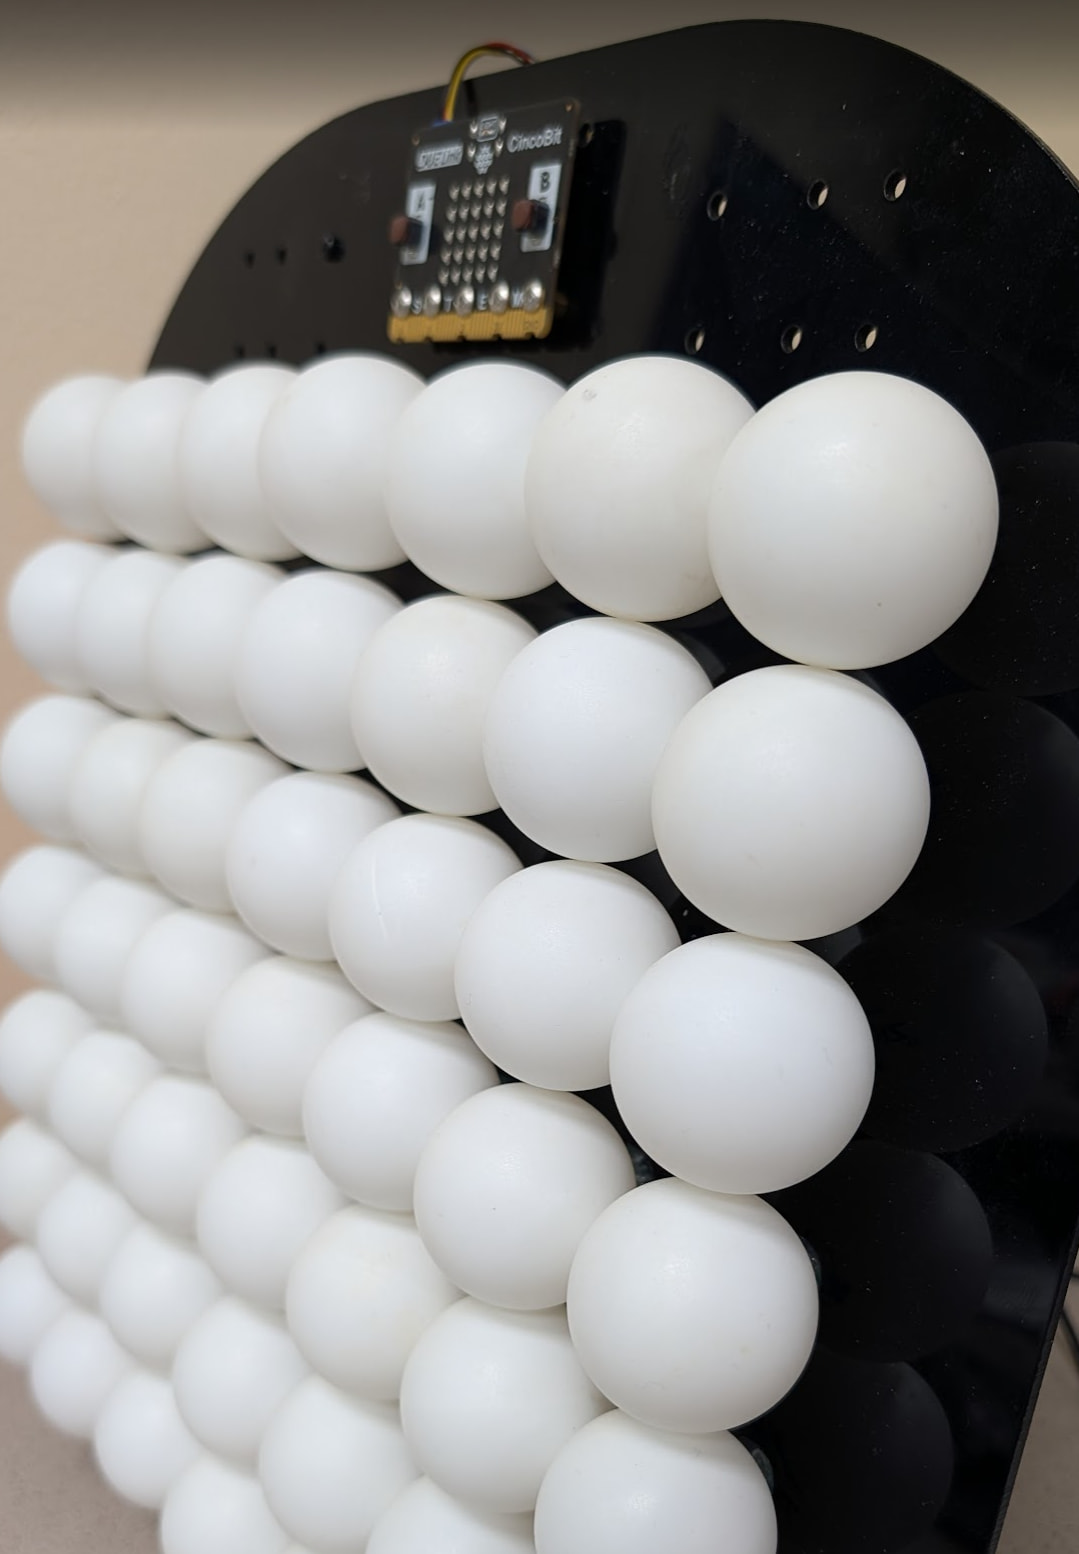
Here is a side view.
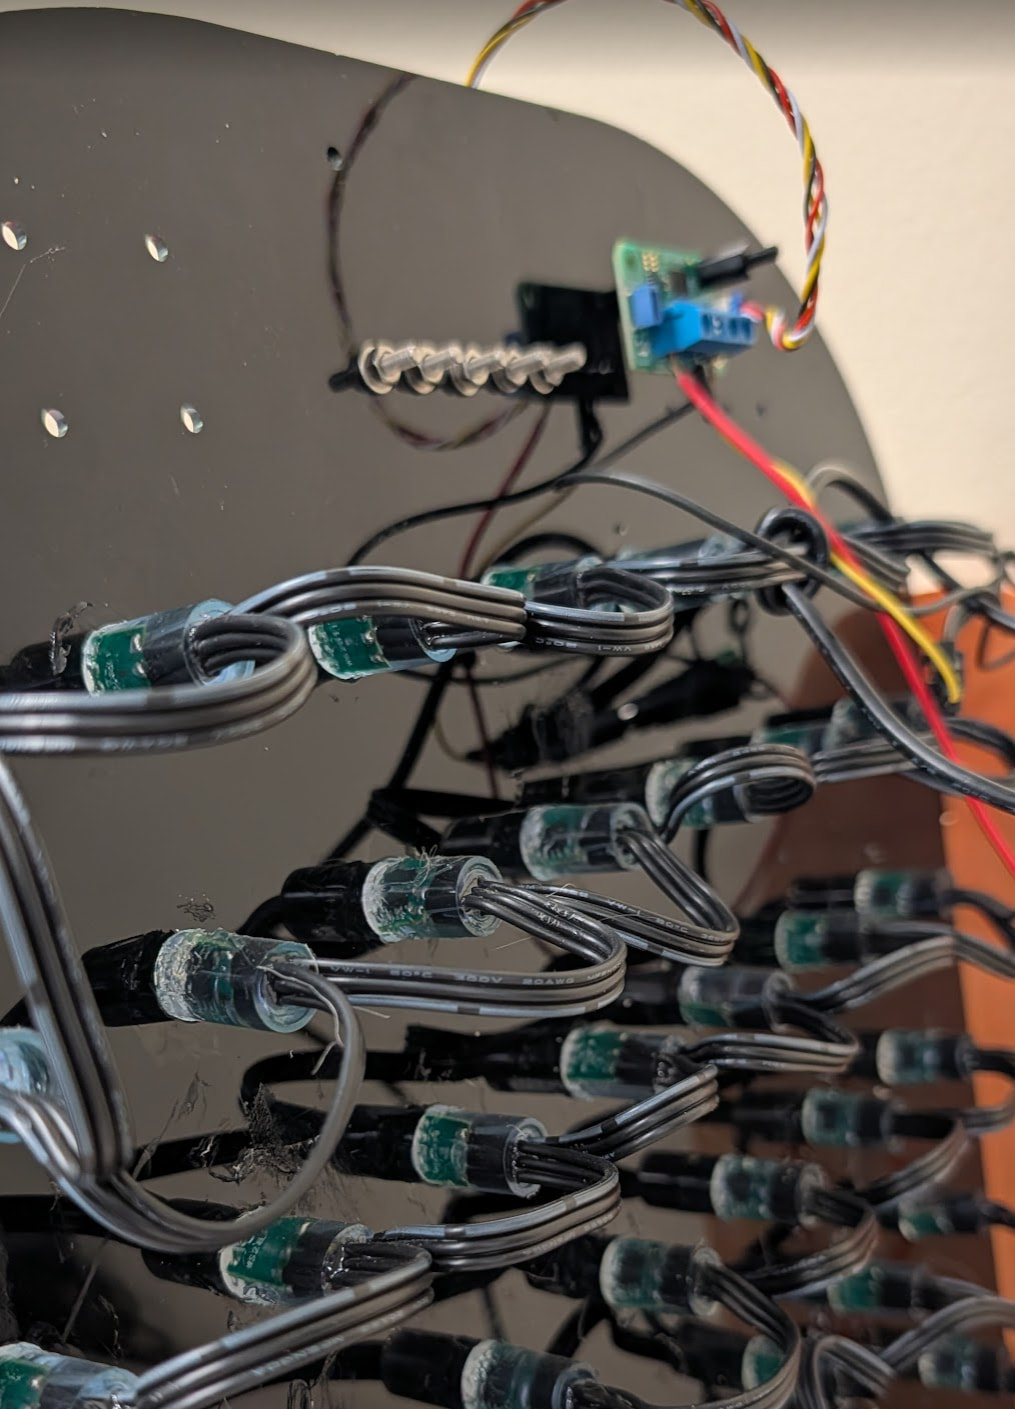
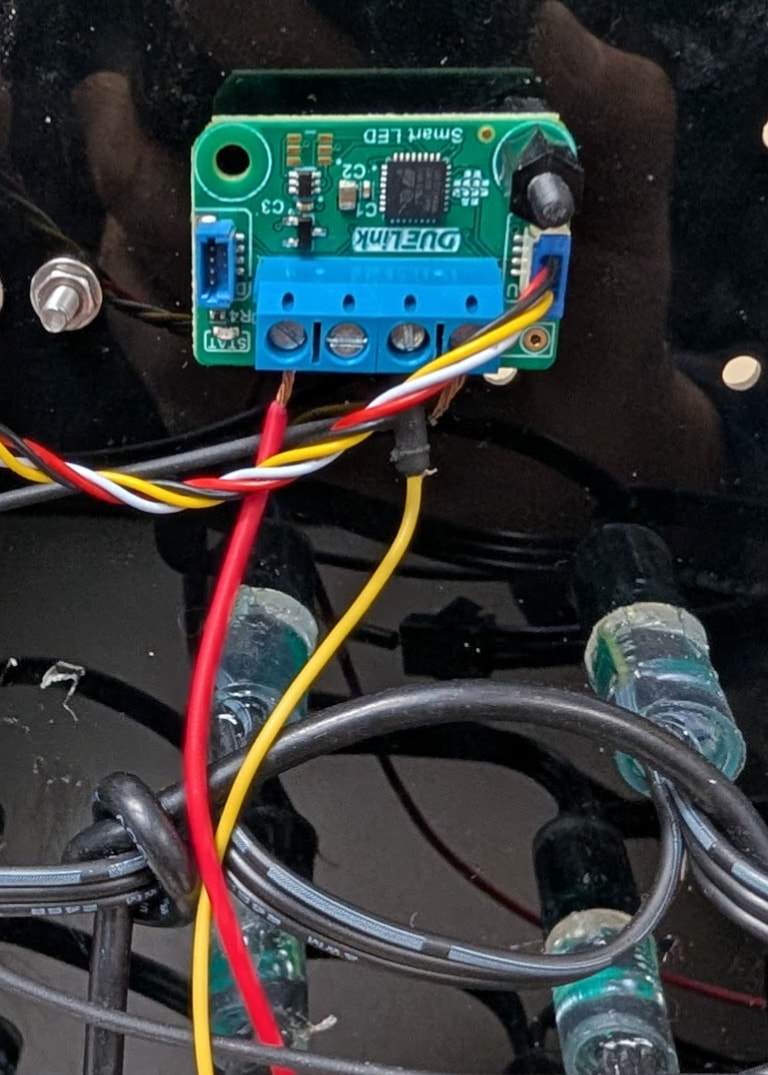
On the back it is an string of Neopixels, smart LEDs that you can control from DUELink.
Getting these to Neopixels to light up is tricky because they require very accurate signals, in the nanoseconds! Many platforms include libraries to simplify this. DUELink standard library not only support Neopixels, it also gives the user a way to map the built in graphics to the LED string!
While you can use any DUELink module with a pin to wire the LED string, we are going to use the Smart LED module, as it has signal conditioning to give the string the proper 5V it needs.
Now for the code, the Graphics page has all the details but, in short, you tell the graphics system that you have Neopixel string/matrix and then you tell it the panel size and then the overall size. Something like this. To verify the setup is correct, we will show “X” on the matrix.
dim a1[]={14,# Pin used
    7, # Individual panel width
    7, # Individual panel height
    2} # Horizontal scanning

GfxCfg(3, a1, 7, 7, 1)# type 3 Neopixel, 7x7 leds, buffered x1

# Show X on the matrix
Clear(0)
Text("X", 0x00FF00, 1,0)
show()
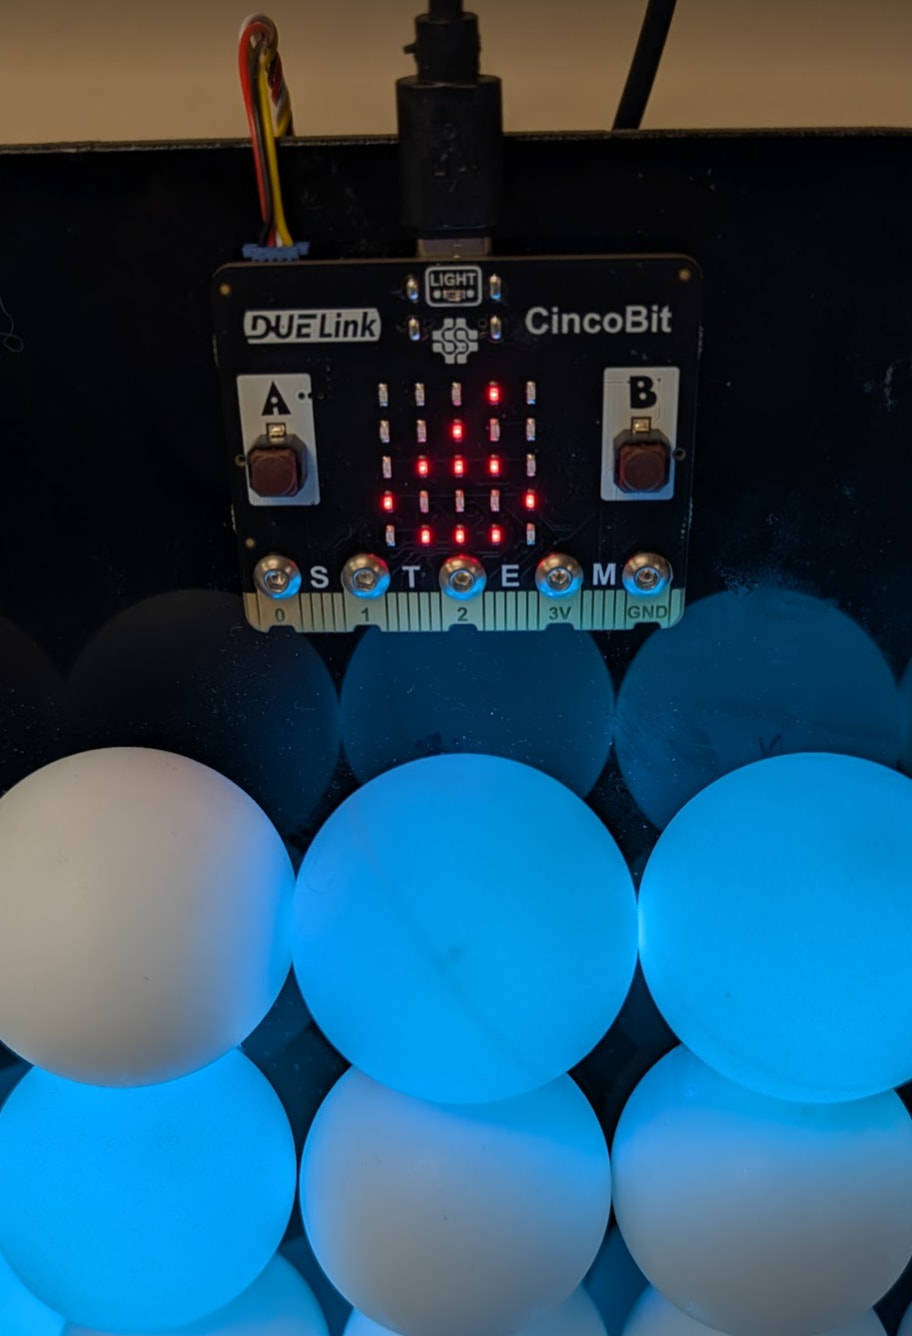
Let’s save and run the code on the module… looks like we have a heartbeat!
The script we have will always run on power up and initialize the graphics system. From here, we can easily send any graphics commands from Python on a PC for example. But we decided to control the Smart LED module using a CincoBit that is running MicroBlocks.
Open up MicroBlocks MicroBlocks
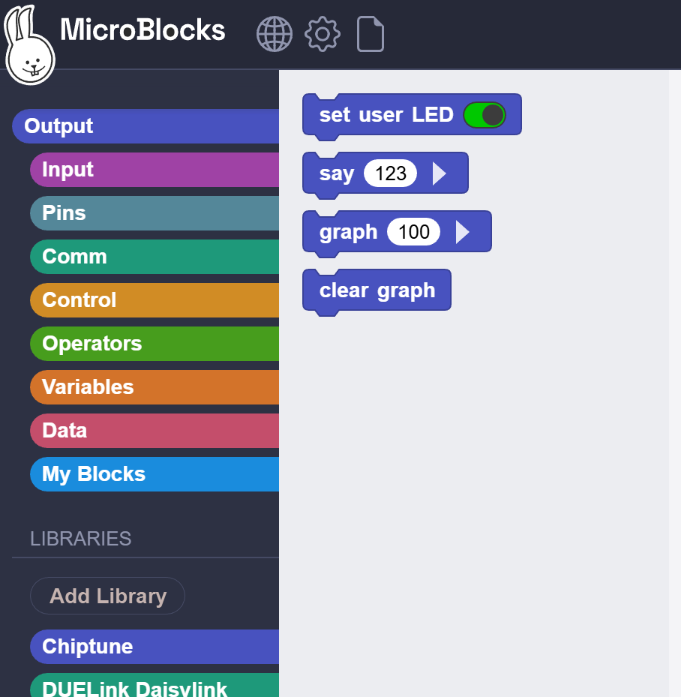
Add DUELink Daisylink lib and from its palette click on connected? block. You will see green (yes) response. This is coming back from the Smart LED module to CincoBit.
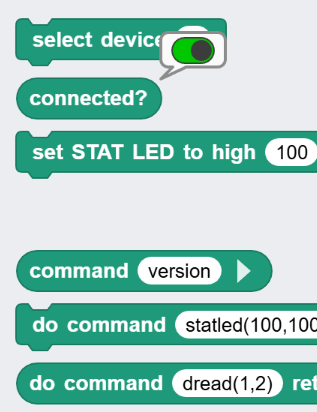
We now can command the Smart LED module with whatever we need it to do. We will utilize the Text("text", color, x, y) graphics command.
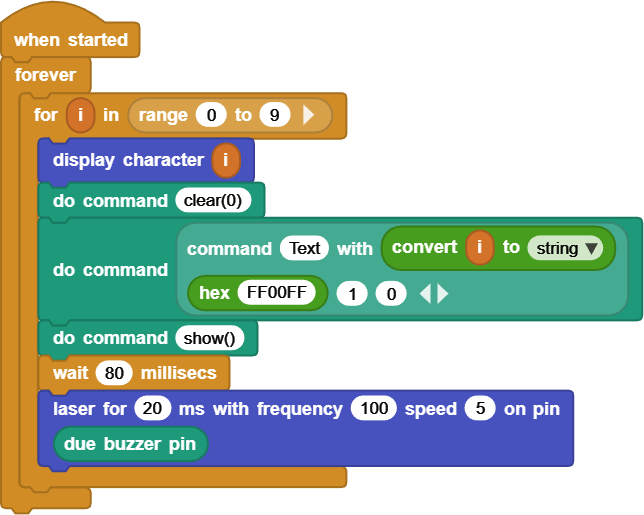
The entire code (blocks) is shown here. It counts from 0 to 9 using a for loop, which then clears the screen, prints that digit using text, then shows it.
And while we are at it, make some “laser noise” using the Chiptune library in every loop! We will also show that same digit (display character) on the 5x5 LED matrix on CincoBit.
Here is 9 showing on both LED matrices!