Originally published at: BrainPad Live Screen with Python – BrainPad
Project Overview
Streaming the Computer Screen to BrainPad LCD
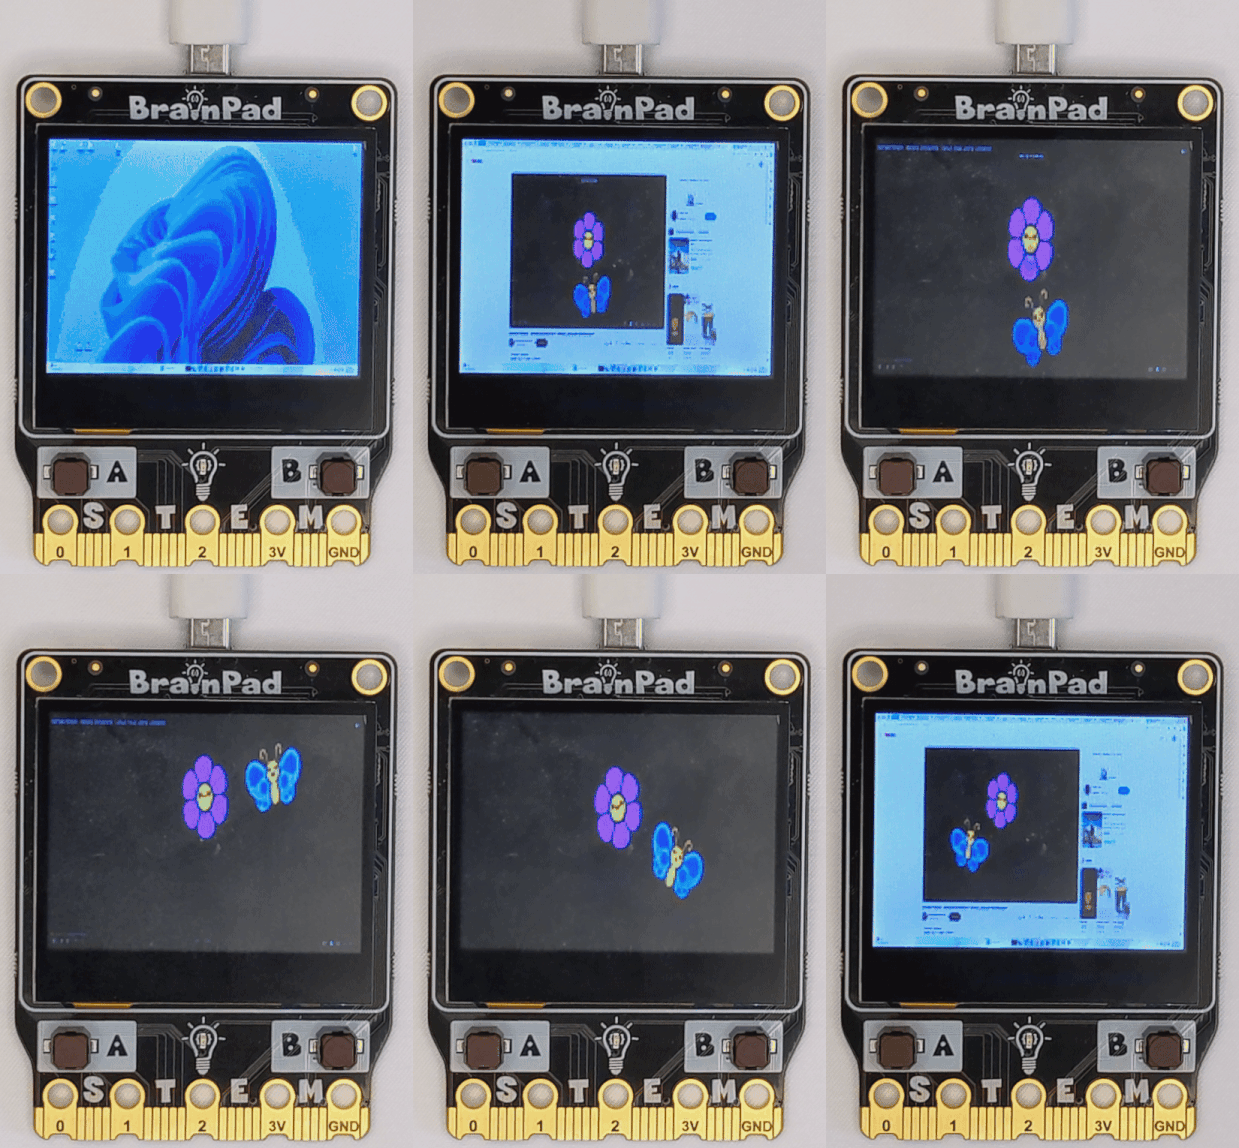
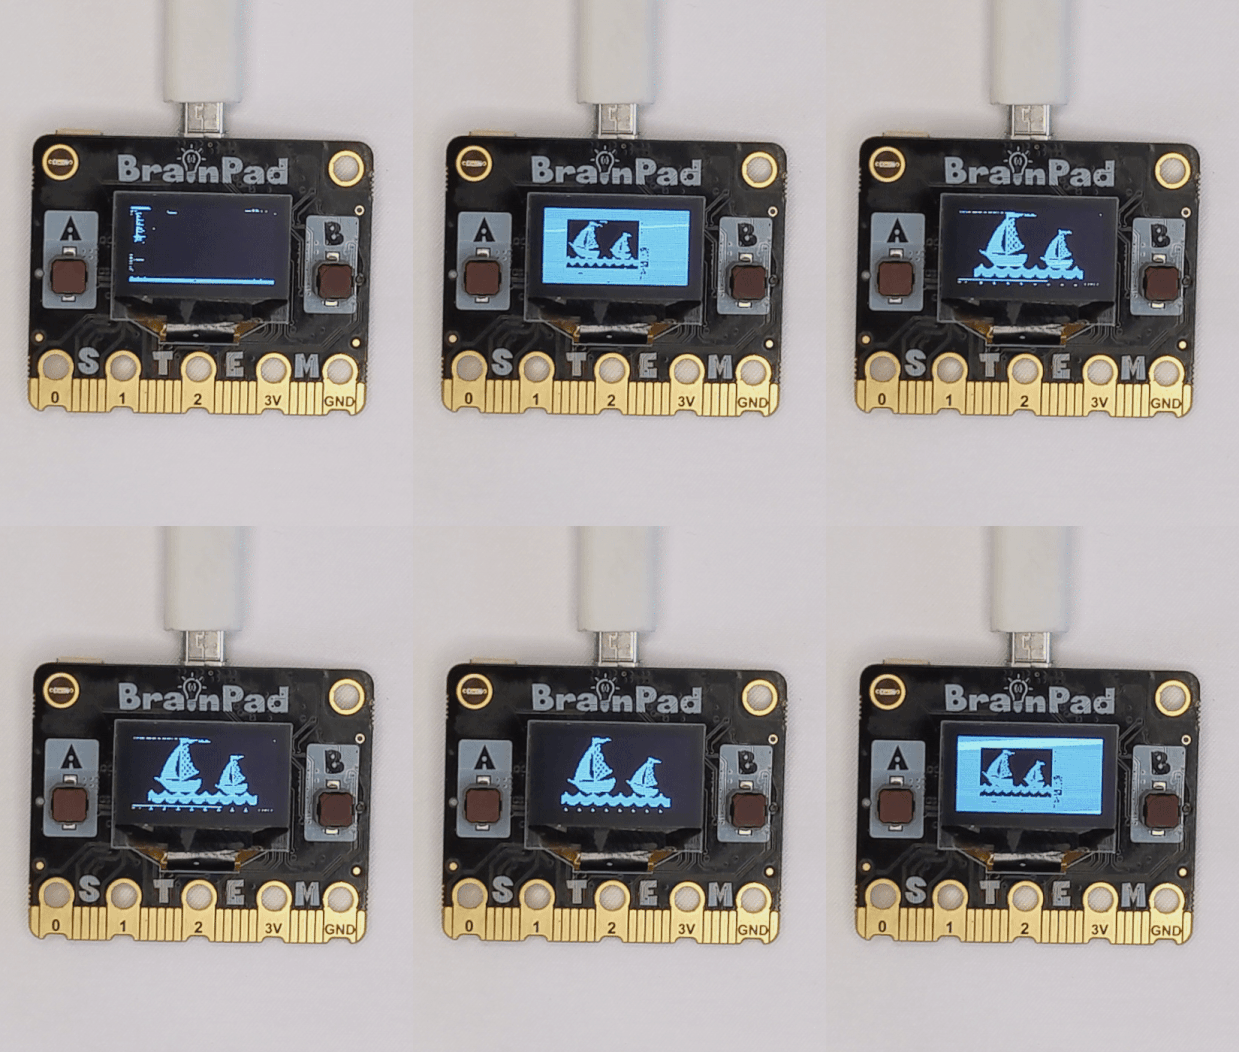
Test the seamless journey of screen recording and streaming with LiveScreen on BrainPad Pulse and BrainPad Rave. This project enables you to effortlessly capture your computer screen and transmit the frames directly to your BrainPad Pulse or Rave microcomputer. The dynamic displays on the microcomputer’s LCD screen create a captivating visual experience, bridging the graphic gap between your computer and microcomputers.

How It Works
capture our computer screen in real time and seamlessly transmit frames to BrainPad Pulse or Rave microcomputers. The script leverages the ImageGrab module to capture the screen, adjusting dimensions for Pulse (128×64) or Rave (160×120). After converting the image to RGBA and optimizing brightness, the frames are transmitted to the microcomputers, providing a dynamic visual experience. The user-friendly interface allows you to exit the loop by pressing the “q” key. A perfect blend of simplicity and innovation, LiveScreen PulseRave bridges the gap between your computer and BrainPad for captivating displays.

Hardware Requirements
To make this project, we need just for :
- BrainPad Pulse or Rave microcomputer
- USB cable
Software Requirements
Ensure you have Python 3.10 installed on your computer. Install the required library using the following command:
pip install DUELink
pip install pillow
Code Overview
Let us break down the Python code into smaller steps and provide a comprehensive explanation for each part:
# Import necessary modules
import keyboard
from PIL import ImageGrab, ImageEnhance
from DUELink.DUELinkController import DUELinkController
import ctypes

# Obtain the available communication port from DUELinkController
availablePort = DUELinkController.GetConnectionPort()

# Initialize DUELinkController with the obtained port
BrainPad = DUELinkController(availablePort)


def capture_screen(width, height):
    while True:
        # Display logic for Pulse BrainPad
        if BrainPad.IsPulse:
            # Capture the screen as an image and preprocess it
            image = ImageGrab.grab(bbox=(0, 0, width, height))
            image = image.convert("RGBA")
            image = image.resize(size=(128, 64))

            # Adjust brightness to reduce screen intensity
            enhancer = ImageEnhance.Brightness(image)
            image = enhancer.enhance(0.015)

            # Convert the image to bytes and display on Pulse BrainPad
            image_bytes = image.tobytes()
            BrainPad.Display.DrawBuffer(image_bytes, color_depth=1)  # color_depth = 4, 8, or 16

        # Display logic for Rave BrainPad
        if BrainPad.IsRave:
            # Capture the screen as an image and preprocess it
            image = ImageGrab.grab(bbox=(0, 0, width, height))
            image = image.convert("RGBA")
            image = image.resize(size=(160, 120))

            # Convert the image to bytes and display on Rave BrainPad
            image_bytes = image.tobytes()
            BrainPad.Display.DrawBuffer(image_bytes, color_depth=16)  # color_depth = 4, 8, or 16

        # Check for user input to exit the loop
        if keyboard.is_pressed("q"):  # returns True if "q" is pressed
            print("\nYou pressed q\nExit")
            BrainPad.Display.Clear(0)
            BrainPad.Display.Show()
            break


def main():
    # Clear the display and show the initial state
    BrainPad.Display.Clear(0)
    BrainPad.Display.Show()

    # Get system screen dimensions and print them
    user32 = ctypes.windll.user32
    width, height = user32.GetSystemMetrics(0), user32.GetSystemMetrics(1)
    print(f"{width = } | {height = }")

    # Print exit instructions and initiate screen capture
    print("Press Q or q to exit")
    capture_screen(width, height)


if __name__ == '__main__':
    # Execute the main function when the script is run
    main()
Customization:
- Color Depth:
Adjust the color depth in the DrawBuffer function which is 8 in our example. Higher values result in more realistic colors but slower processing. Experiment with values like 4, 8, or 16, you can learn more about BrainPad FrameBuffer from here.
- Additional Enhancements:
Experiment with additional image processing techniques, such as filters or overlays, to enhance the screen recording stream.
- Language Exploration
Explore languages like C# or JavaScript on BrainPad from here to create the same project with logic-matching language syntax and take advantage of the microcomputer’s versatility.