Because of DUELink’s friendly nature in working with other ecosystems it’s even easy when connecting different types of modules. In this project we first connect a Modulino buzzer to an Arduino Uno R4 Wifi.
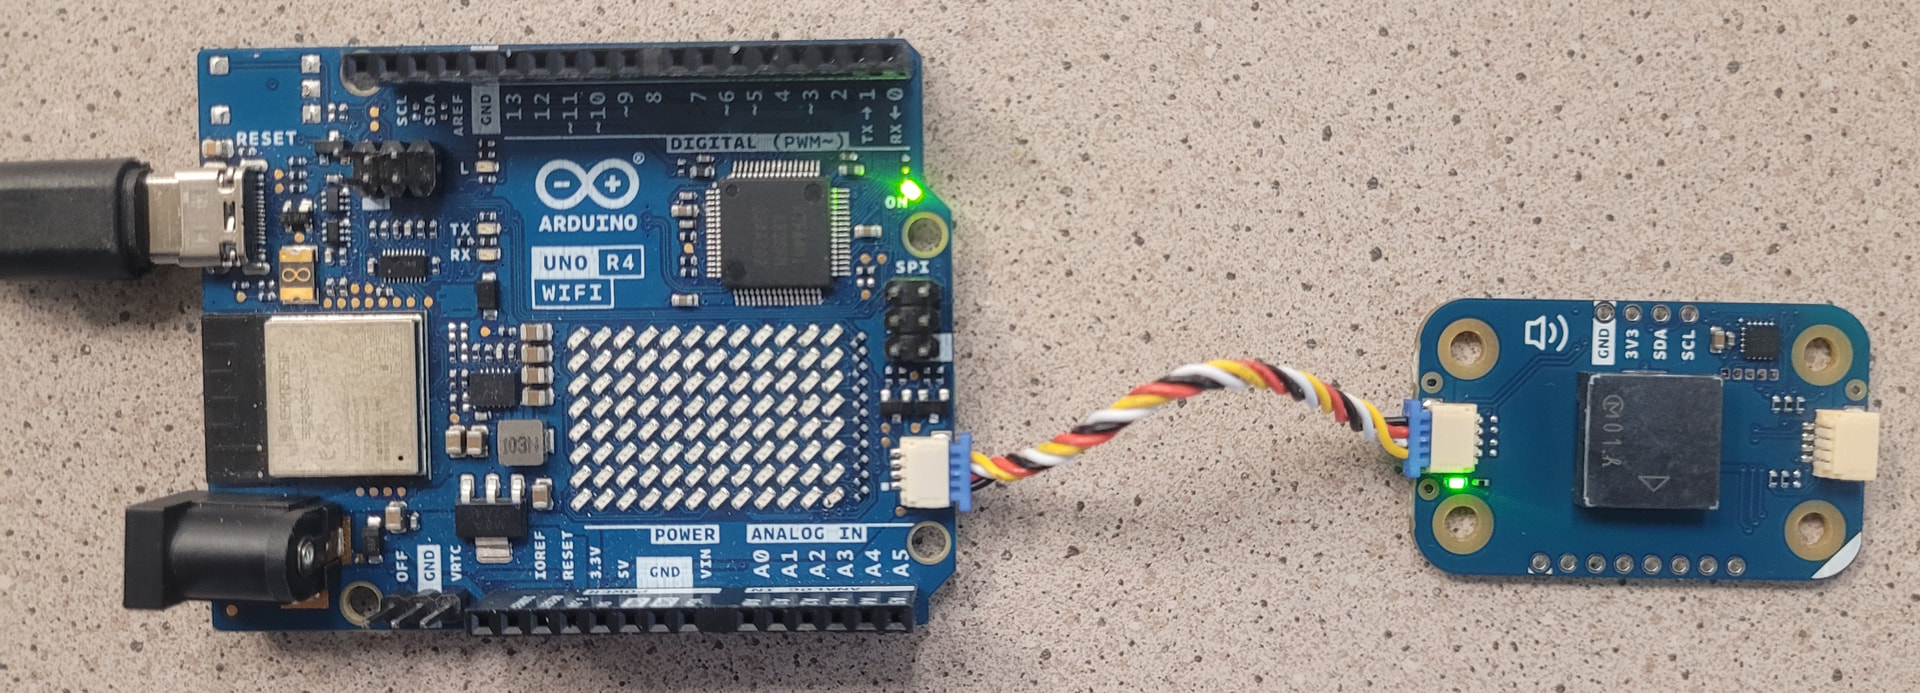
This is pretty straight forward and there are many online tutorials to get you to this point.
#include <Modulino.h>

ModulinoBuzzer buzzer;

void setup() {
  Modulino.begin( );
  buzzer.begin( );
}

void loop() {
  buzzer.tone(500, 1000);
  delay(10);
}
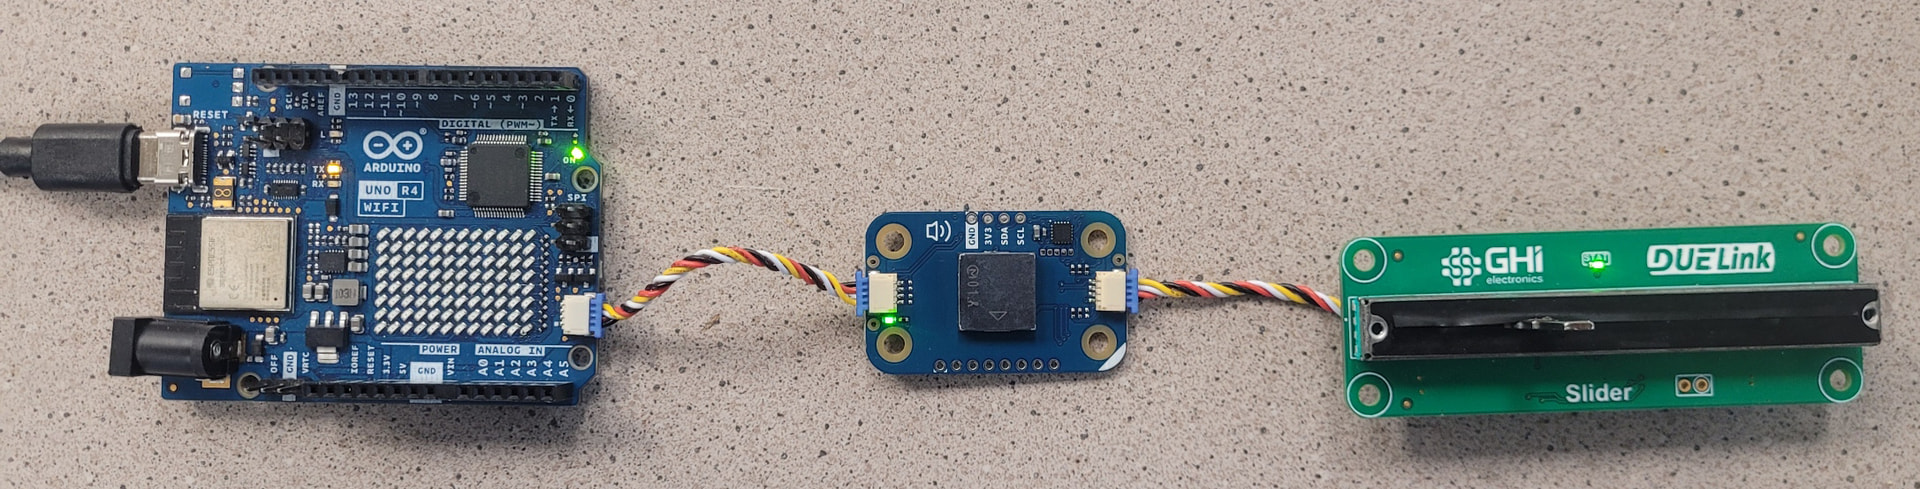
When connecting DUELink modules to other compatible systems keep in mind that standard firmware and drivers are loaded on the DUELink modules, and the modules must be last in the chain. Let’s add a DUELink Slider to the chain.
We need to import the DUELink Arduino library and instantiate the transport mechanism to talk to the modules, and then create a function to read the slider.
#include <Modulino.h>
#include <Wire.h>
#include <DUELink.h>

ModulinoBuzzer buzzer;
TwoWireTransport transport(Wire1);
DUELink duelink(transport);

float Slide() {
    return duelink.Engine.ExecuteCommand("Slide()");
}
In the setup() we also need to initiate the serial connection and connect the DUELink hardware.
void setup() {
  Modulino.begin();
  buzzer.begin();
  Serial.begin(9600);
  Wire1.begin();
  duelink.Connect();
}
Now we can use the Slider to change the frequency of the Buzzer.
void loop() {
  buzzer.tone(Slide()*50, 100);
  delay(10);
}
The entire code is here on github