no real idea but i suspect that you might find those cells are outside your draw window area. I’d try playing with graphics items like boxes and putting them on sides and top and bottom, to make sure the screen and driver haven’t “wrapped” each other and you lose one pixel on top and it pushed a random bit of memory to the bottom from the display buffer… I remember something similar that needed tweaking when i worked on the ili9341 netmf drivers ( [poundy/Vecc.Netmf.Drivers.Ili9341: Display driver for the .NET Micro Framework to drive the ILI9341 LCD screens (here) but don’t recall exactly what I found they were doing wrong.
but clearly lost you a few pixels - and they’re scarce resources to start ! Anyway, if that’s an OK solution, go for it. I’d want to play more before giving in (because to me it looks “code” not hardware)
It doesn’t loose any pixels. I found the solution when comparing the TinyCLR driver with the demo code from the display provider. (Code is available if you follow the link in the original post.)
This is their version of SetDrawWindow():
void Set_LCD_for_write_at_X_Y(uint8_t x, uint8_t y)
  {
  //CASET (2Ah): Column Address Set
  // * The value of XS [15:0] and XE [15:0] are referred when RAMWR
  //   command comes.
  // * Each value represents one column line in the Frame Memory.
  // * XS [15:0] always must be equal to or less than XE [15:0]
  SPI_sendCommand(ST7735_CASET); //Column address set
  //Write the parameters for the "column address set" command
  SPI_sendData(0x00);     //Start MSB = XS[15:8]
  SPI_sendData(0x02 + x); //Start LSB = XS[ 7:0]
  SPI_sendData(0x00);     //End MSB   = XE[15:8]
  SPI_sendData(0x81);     //End LSB   = XE[ 7:0]
  //Write the "row address set" command to the LCD
  //RASET (2Bh): Row Address Set
  // * The value of YS [15:0] and YE [15:0] are referred when RAMWR
  //   command comes.
  // * Each value represents one row line in the Frame Memory.
  // * YS [15:0] always must be equal to or less than YE [15:0]
  SPI_sendCommand(ST7735_RASET); //Row address set
  //Write the parameters for the "row address set" command
  SPI_sendData(0x00);     //Start MSB = YS[15:8]
  SPI_sendData(0x01 + y); //Start LSB = YS[ 7:0]
  SPI_sendData(0x00);     //End MSB   = YE[15:8]
  SPI_sendData(0x80);     //End LSB   = YE[ 7:0]
  //Write the "write data" command to the LCD
  //RAMWR (2Ch): Memory Write
  SPI_sendCommand(ST7735_RAMWR); //write data
  }
This is TinyCLR’s version:
public void SetDrawWindow(int x, int y, int width, int height) {
    this.Width = width;
    this.Height = height;

    this.buffer4[1] = (byte)x;
    this.buffer4[3] = (byte)(x + width);

    this.SendCommand(ST7735CommandId.CASET);
    this.SendData(this.buffer4);

    this.buffer4[1] = (byte)y;
    this.buffer4[3] = (byte)(y + height);

    this.SendCommand(ST7735CommandId.RASET);
    this.SendData(this.buffer4);
}
You can see that they add some padding to the X and Y bytes that the TinyCLR driver does not:
SPI_sendData(0x02 + x);
SPI_sendData(0x01 + y);
Why the ‘3’ works for the ‘y’ option when they have a ‘1’, I don’t have a good answer. But in the end it works.
There is 132x130 support by driver as well. You can try that to see what actual screen size is.
public ST7735Controller(SpiDevice spi, GpioPin control, GpioPin reset, ScreenSize screenSize)
If actual size is 132x130 and set draw window is 128x128 then won’t lost any pixel of course, just because draw window is smaller, doesn’t mean actual is 128x128.
I think it is impossible to know what configuration reach display has. It is normal that the physical display may not start at address 0, meaning draw window will need to be adjusted accordingly.
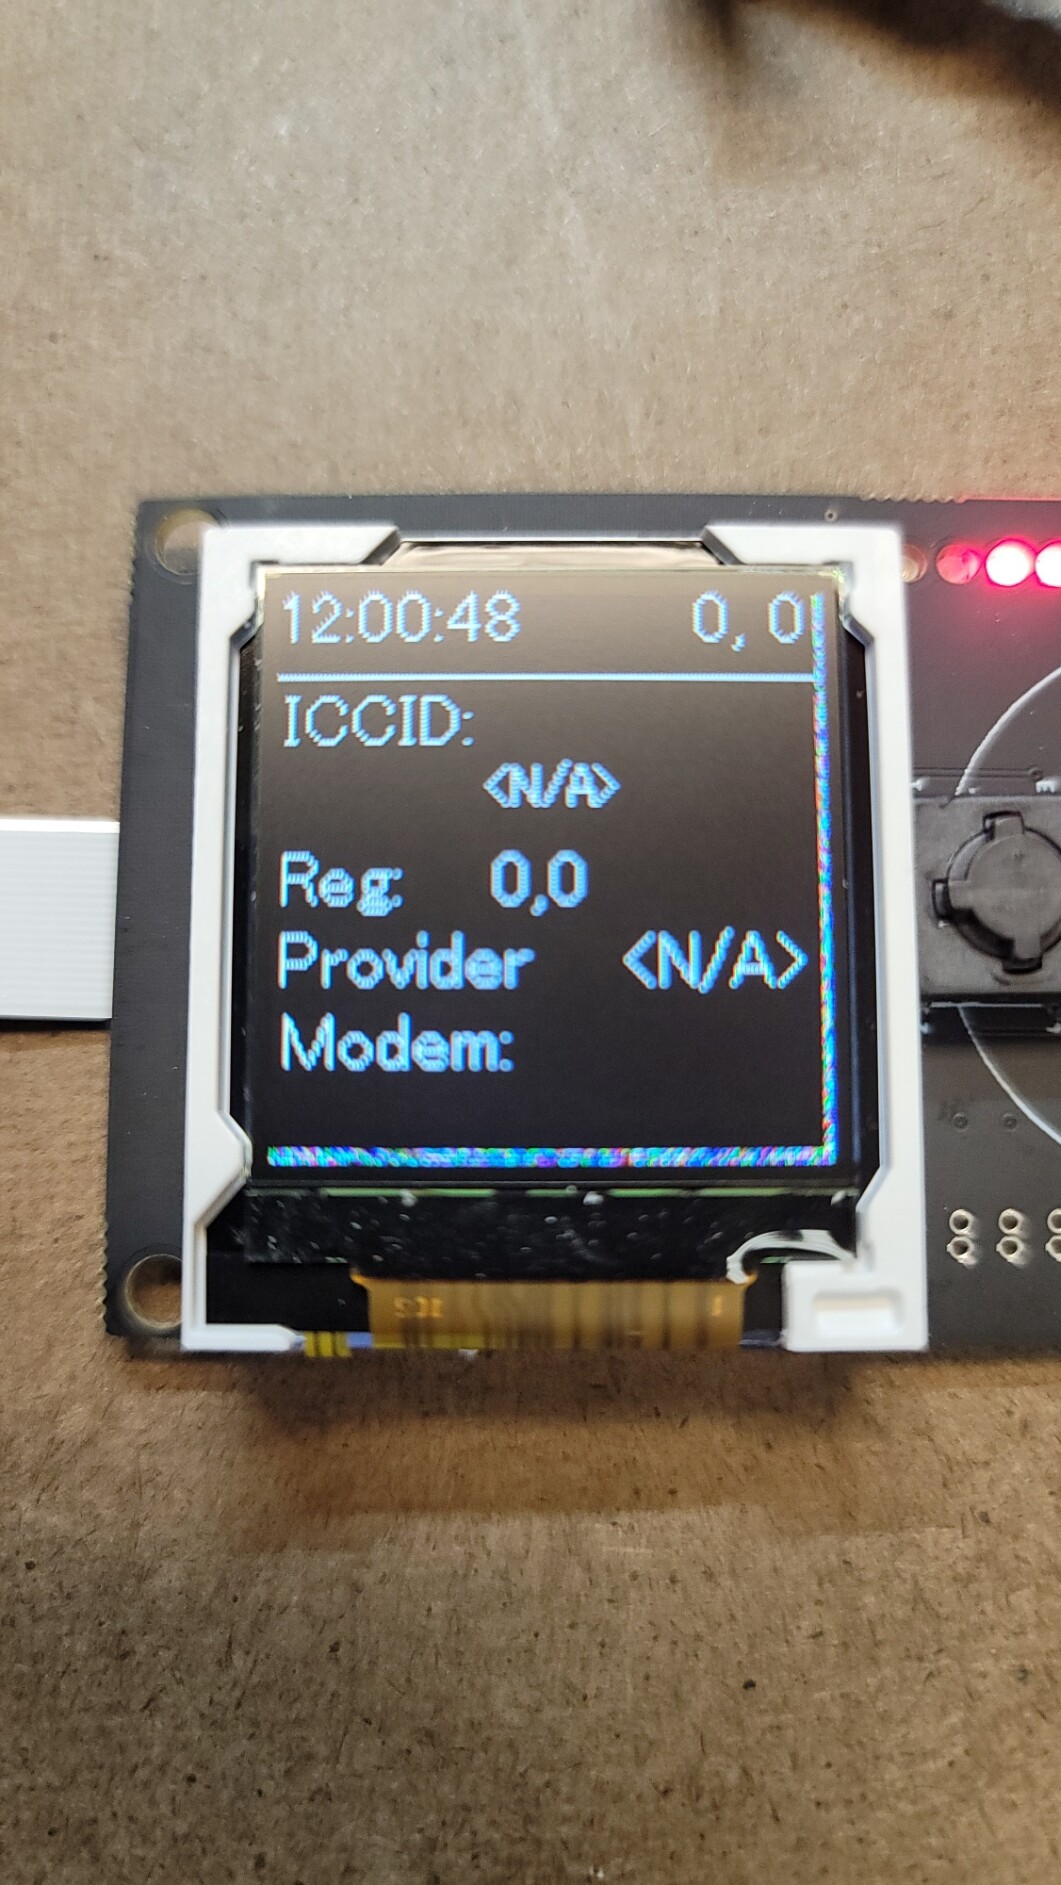
With the current settings, I have no loss of pixels. I did draw pixel 0 blue, and 127 red and they are where they are supposed to be. It appears with this particular display the physical rows and columns are mapped slightly offset from the RAM addresses.
private const int SCREEN_WIDTH = 128;
private const int SCREEN_HEIGHT = 128;

st7735.SetDataFormat(DataFormat.Rgb565);
st7735.SetDataAccessControl(false, true, true, true); //Rotate the screen.
st7735.SetDrawWindow(2, 3, SCREEN_WIDTH - 1, SCREEN_HEIGHT - 1);
st7735.Enable();
I don’t seem to lose any pixels, I have the full 128 both x and y.
I didn’t make any changes to the driver software. Setting the draw window with x = 2, y = 3 seemed to solve the issue and still use the default 7735 driver software.

 Anyway, if that’s an OK solution, go for it. I’d want to play more before giving in (because to me it looks “code” not hardware)